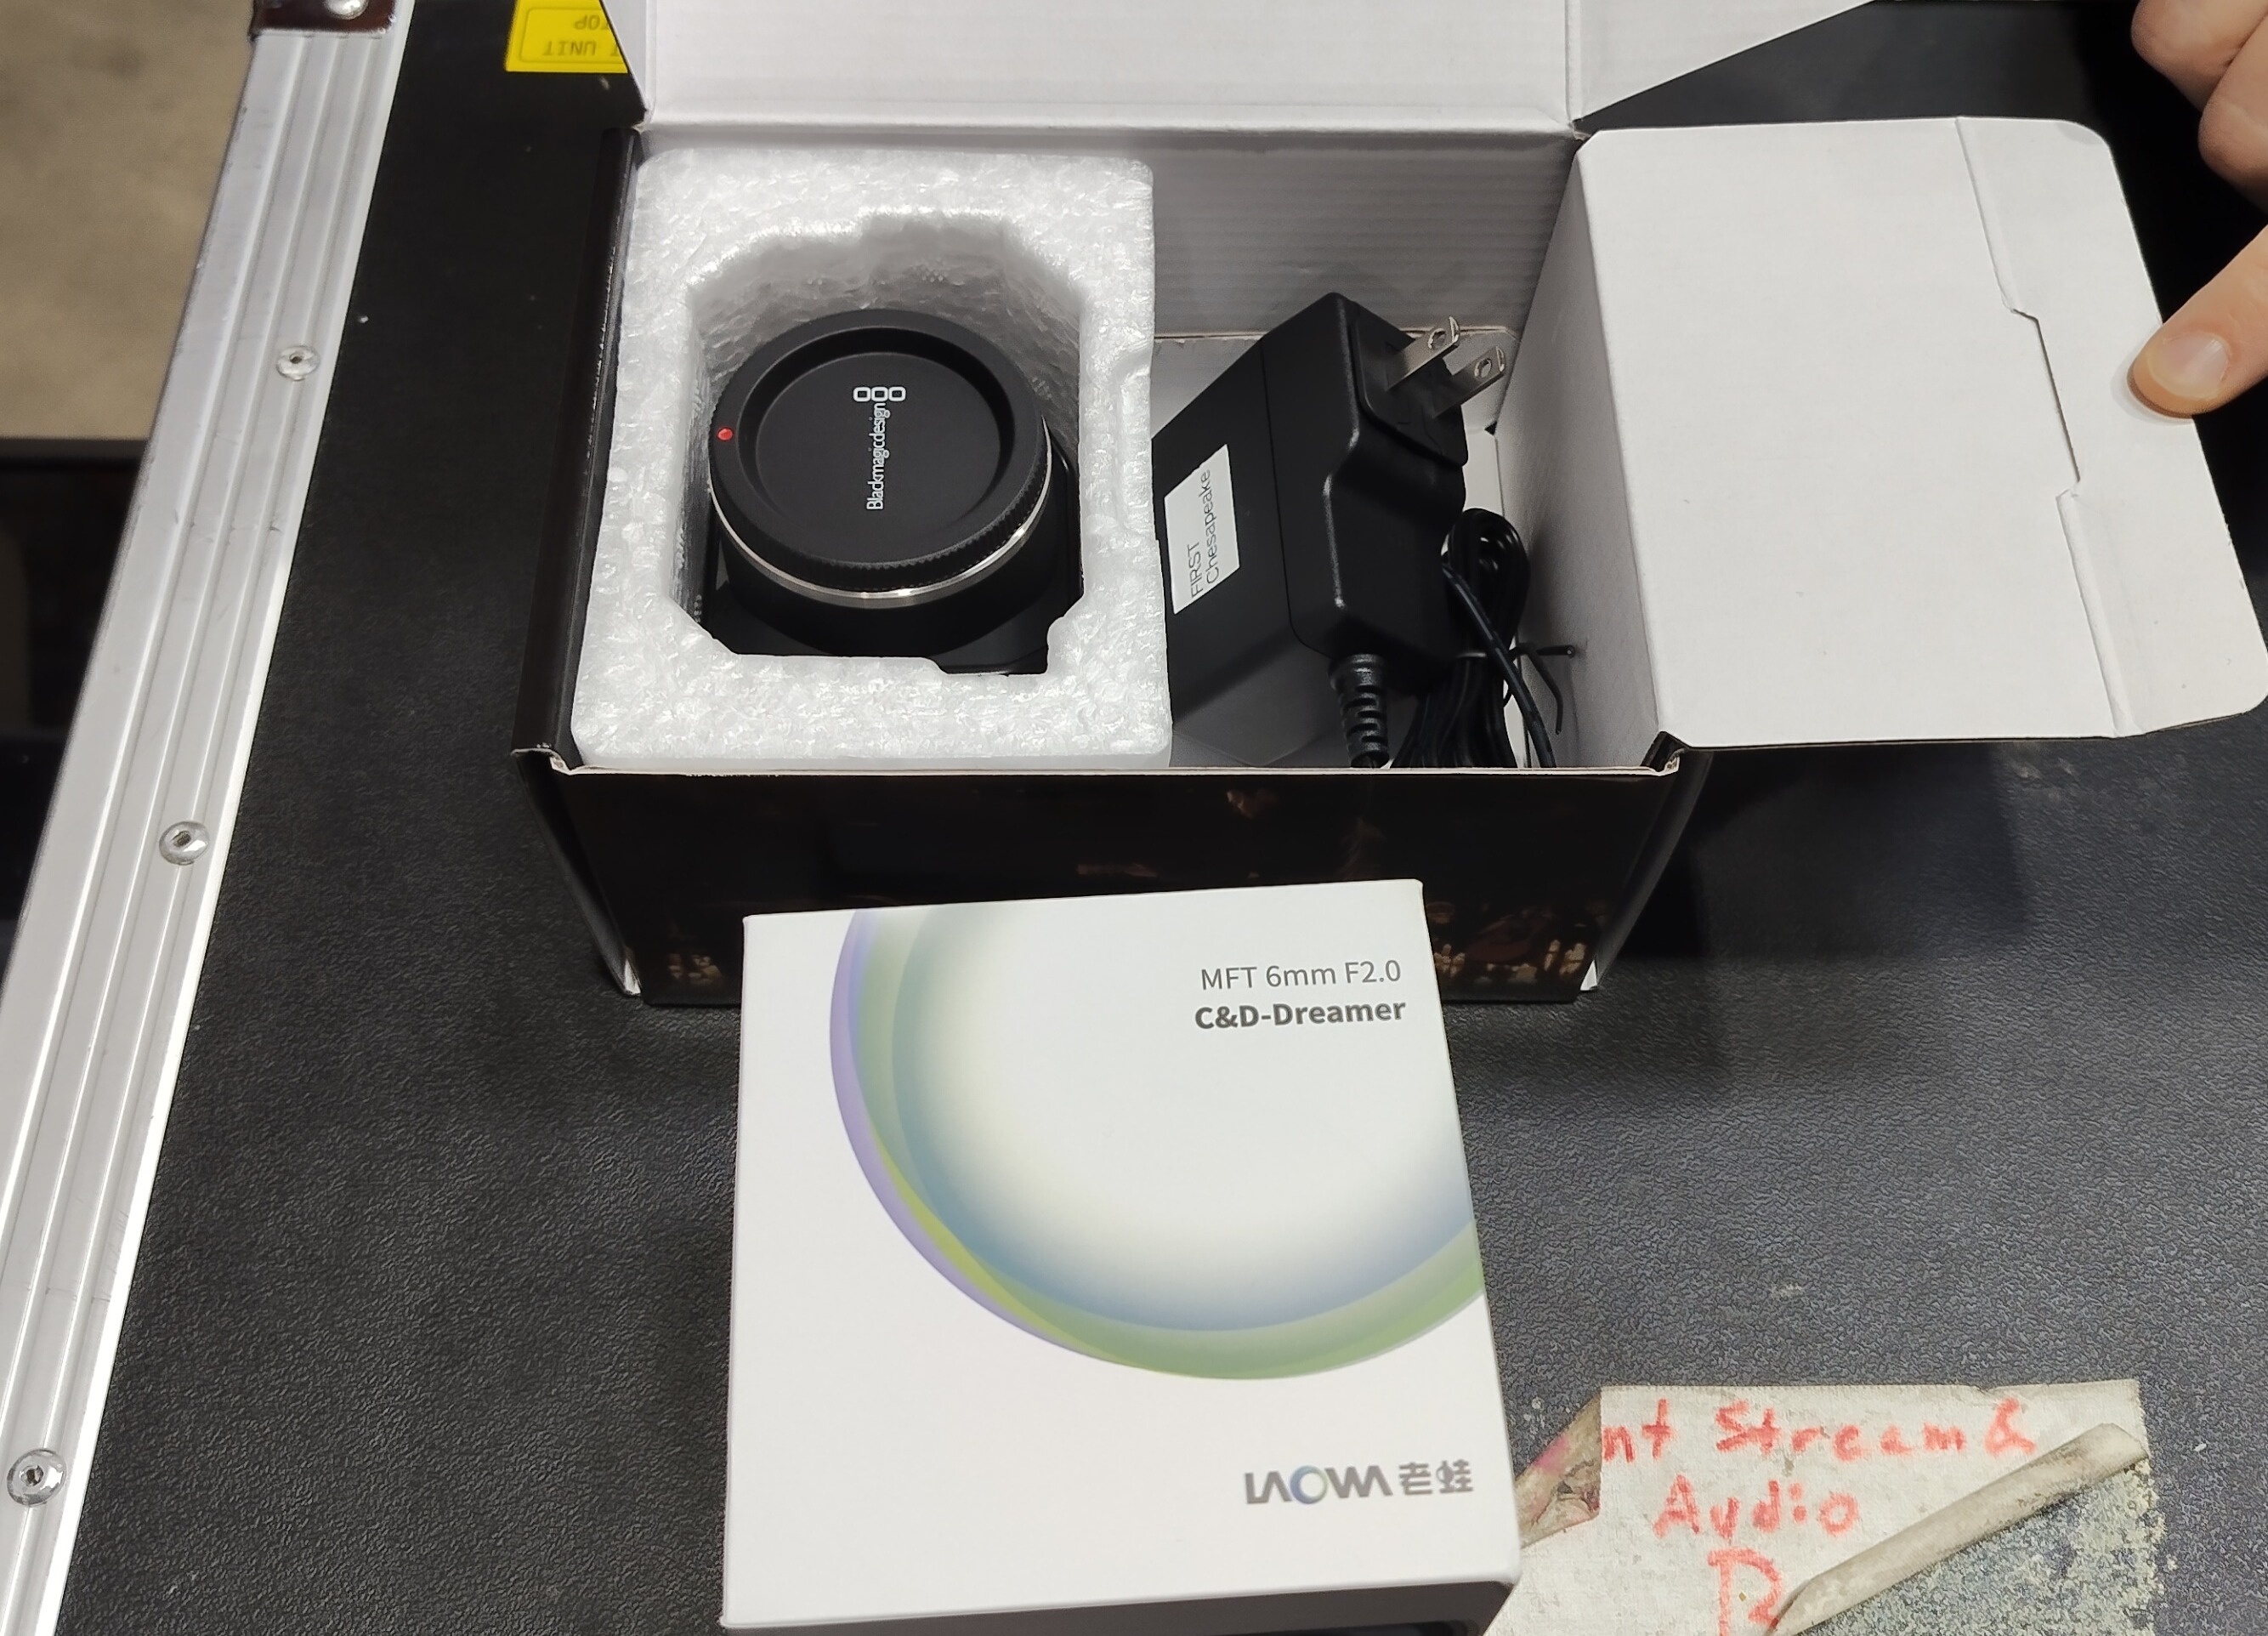
Supplies needed: Overview Camera tub, 16’ tripod, ball head joint.
- Locate the Overview Camera tub. It is located in the AV case and contains the center camera and ultrawide lens.
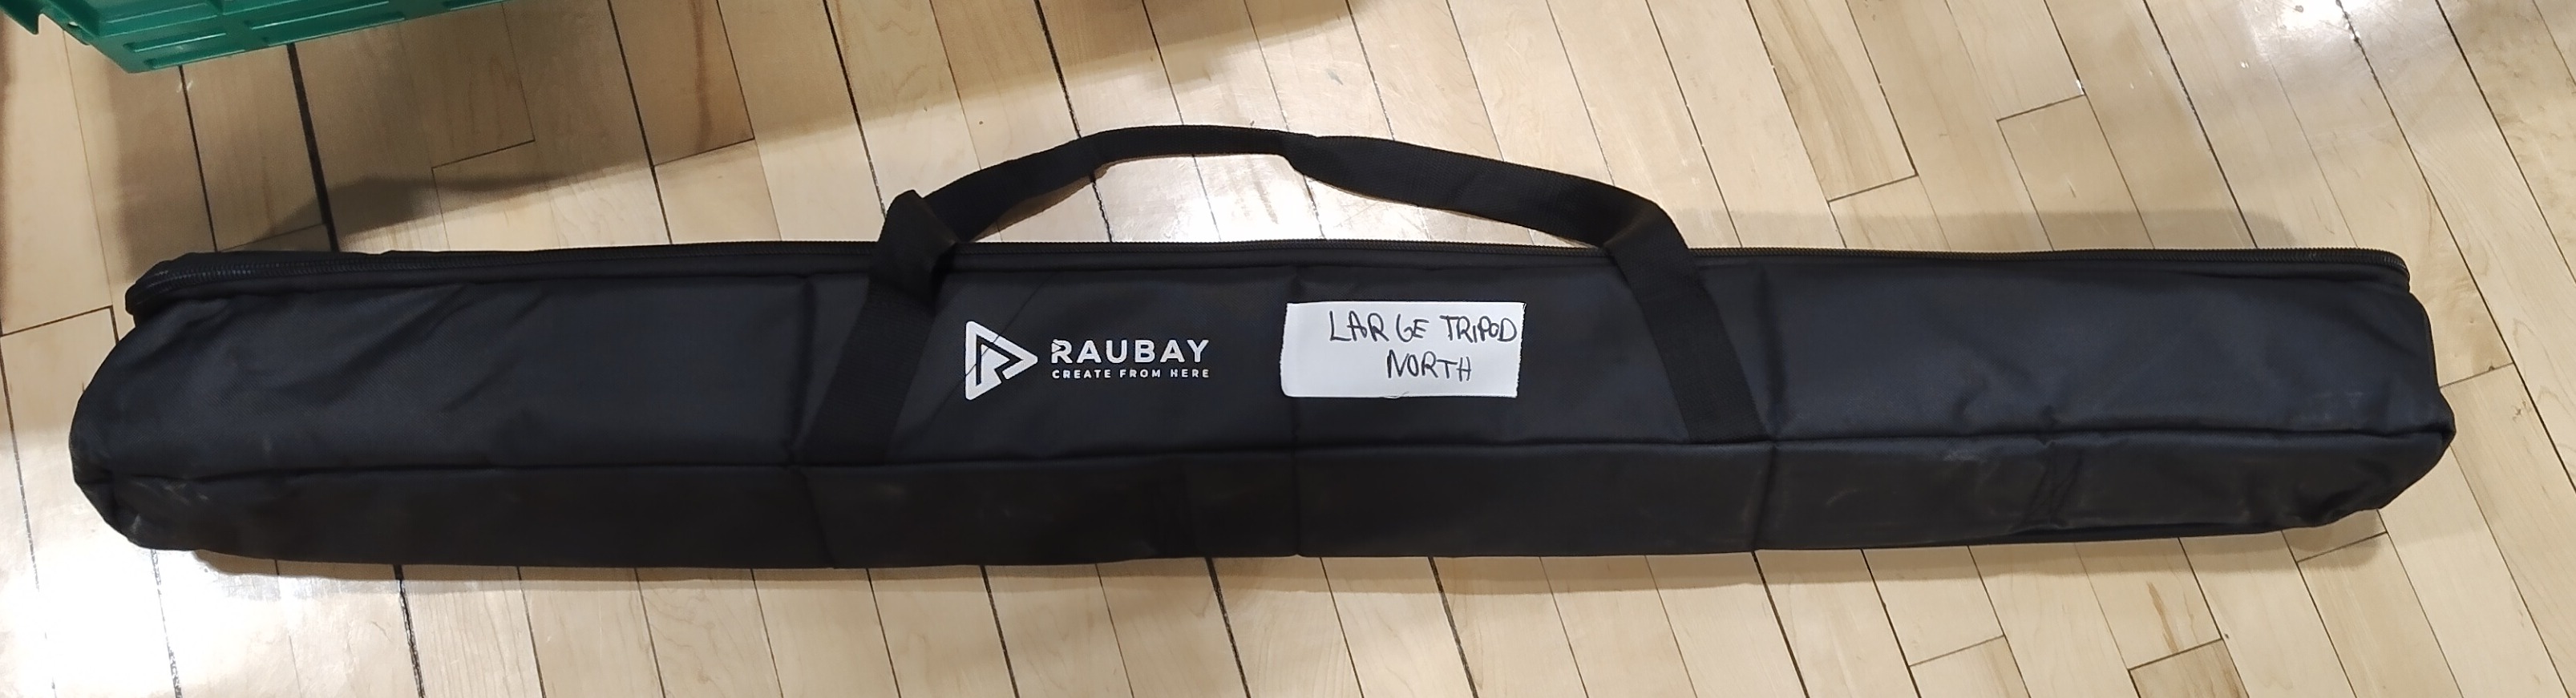
- Locate the 16’ tripod, also located in the AV case. This tripod should be in a bag that says “Raubay” on the outside.
Before Proceeding: Know to Avoid Sensor Contamination
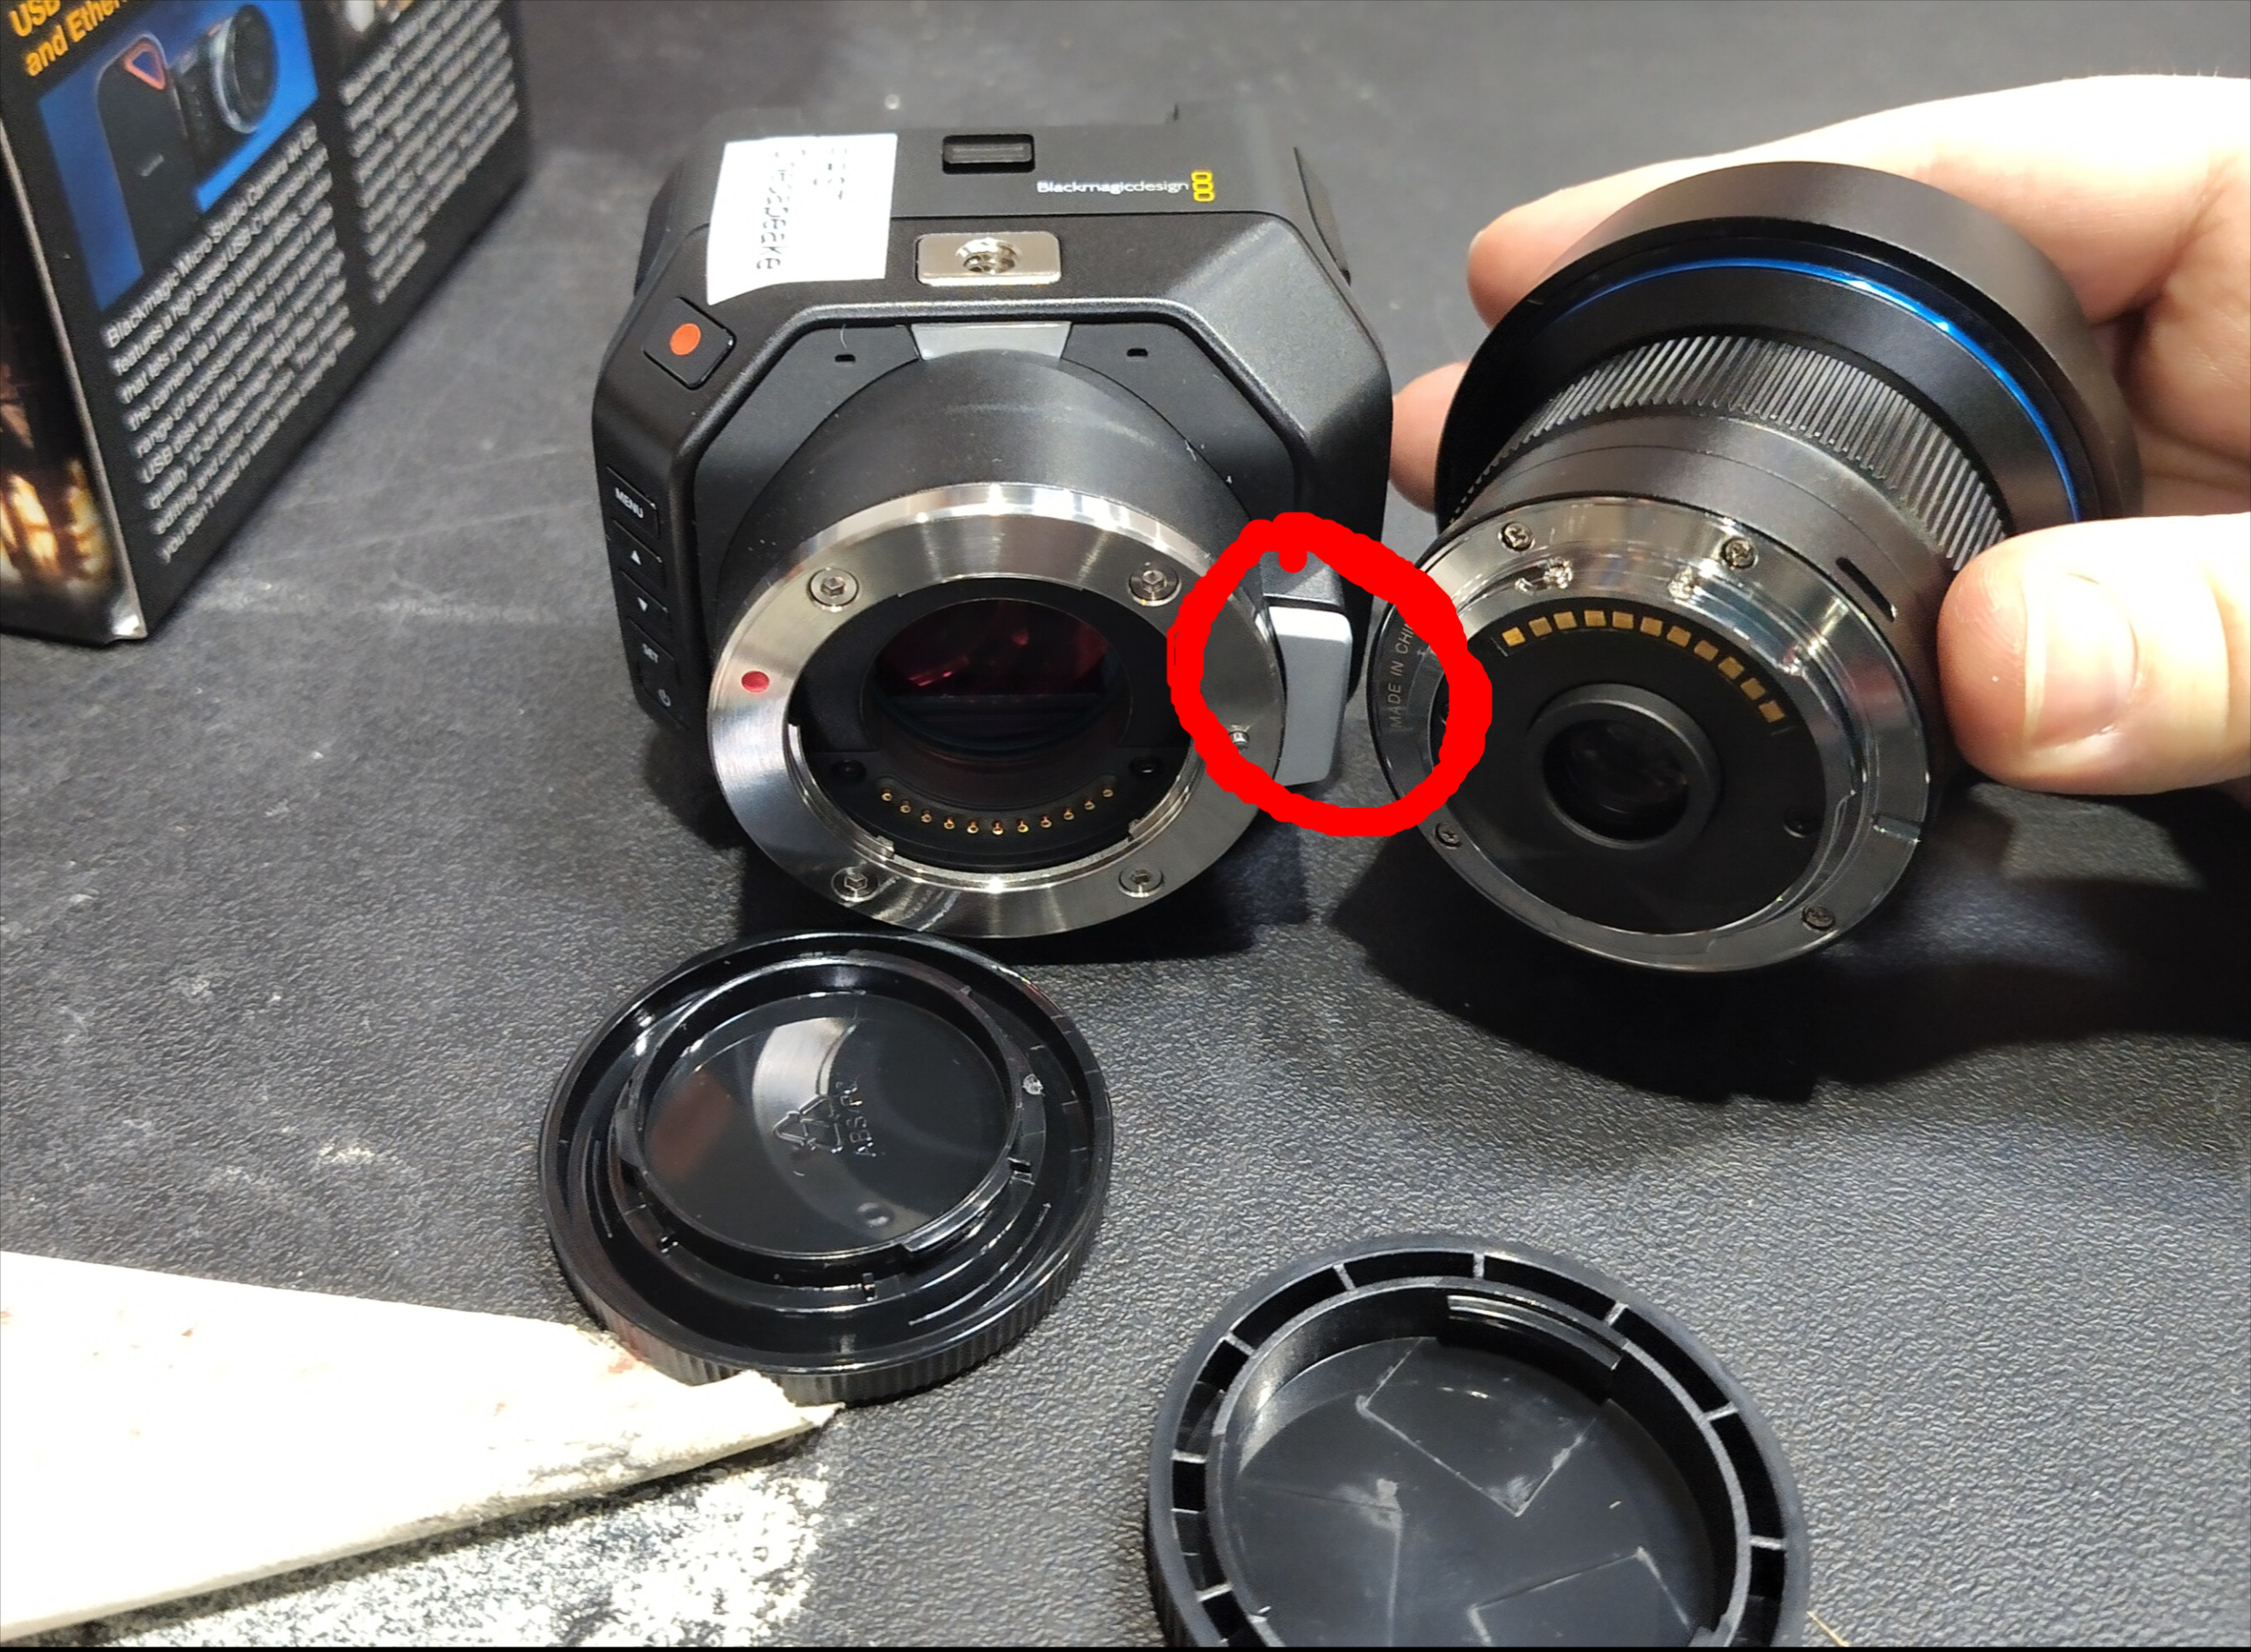
The camera sensor and camera lens must never be allowed to face upwards while uncovered. Protect these surfaces from dust and from contact with any clothing or skin, and do not uncover both sides of the camera lens at the same time. Follow the steps below to attach the back of the lens before uncovering the front.
-
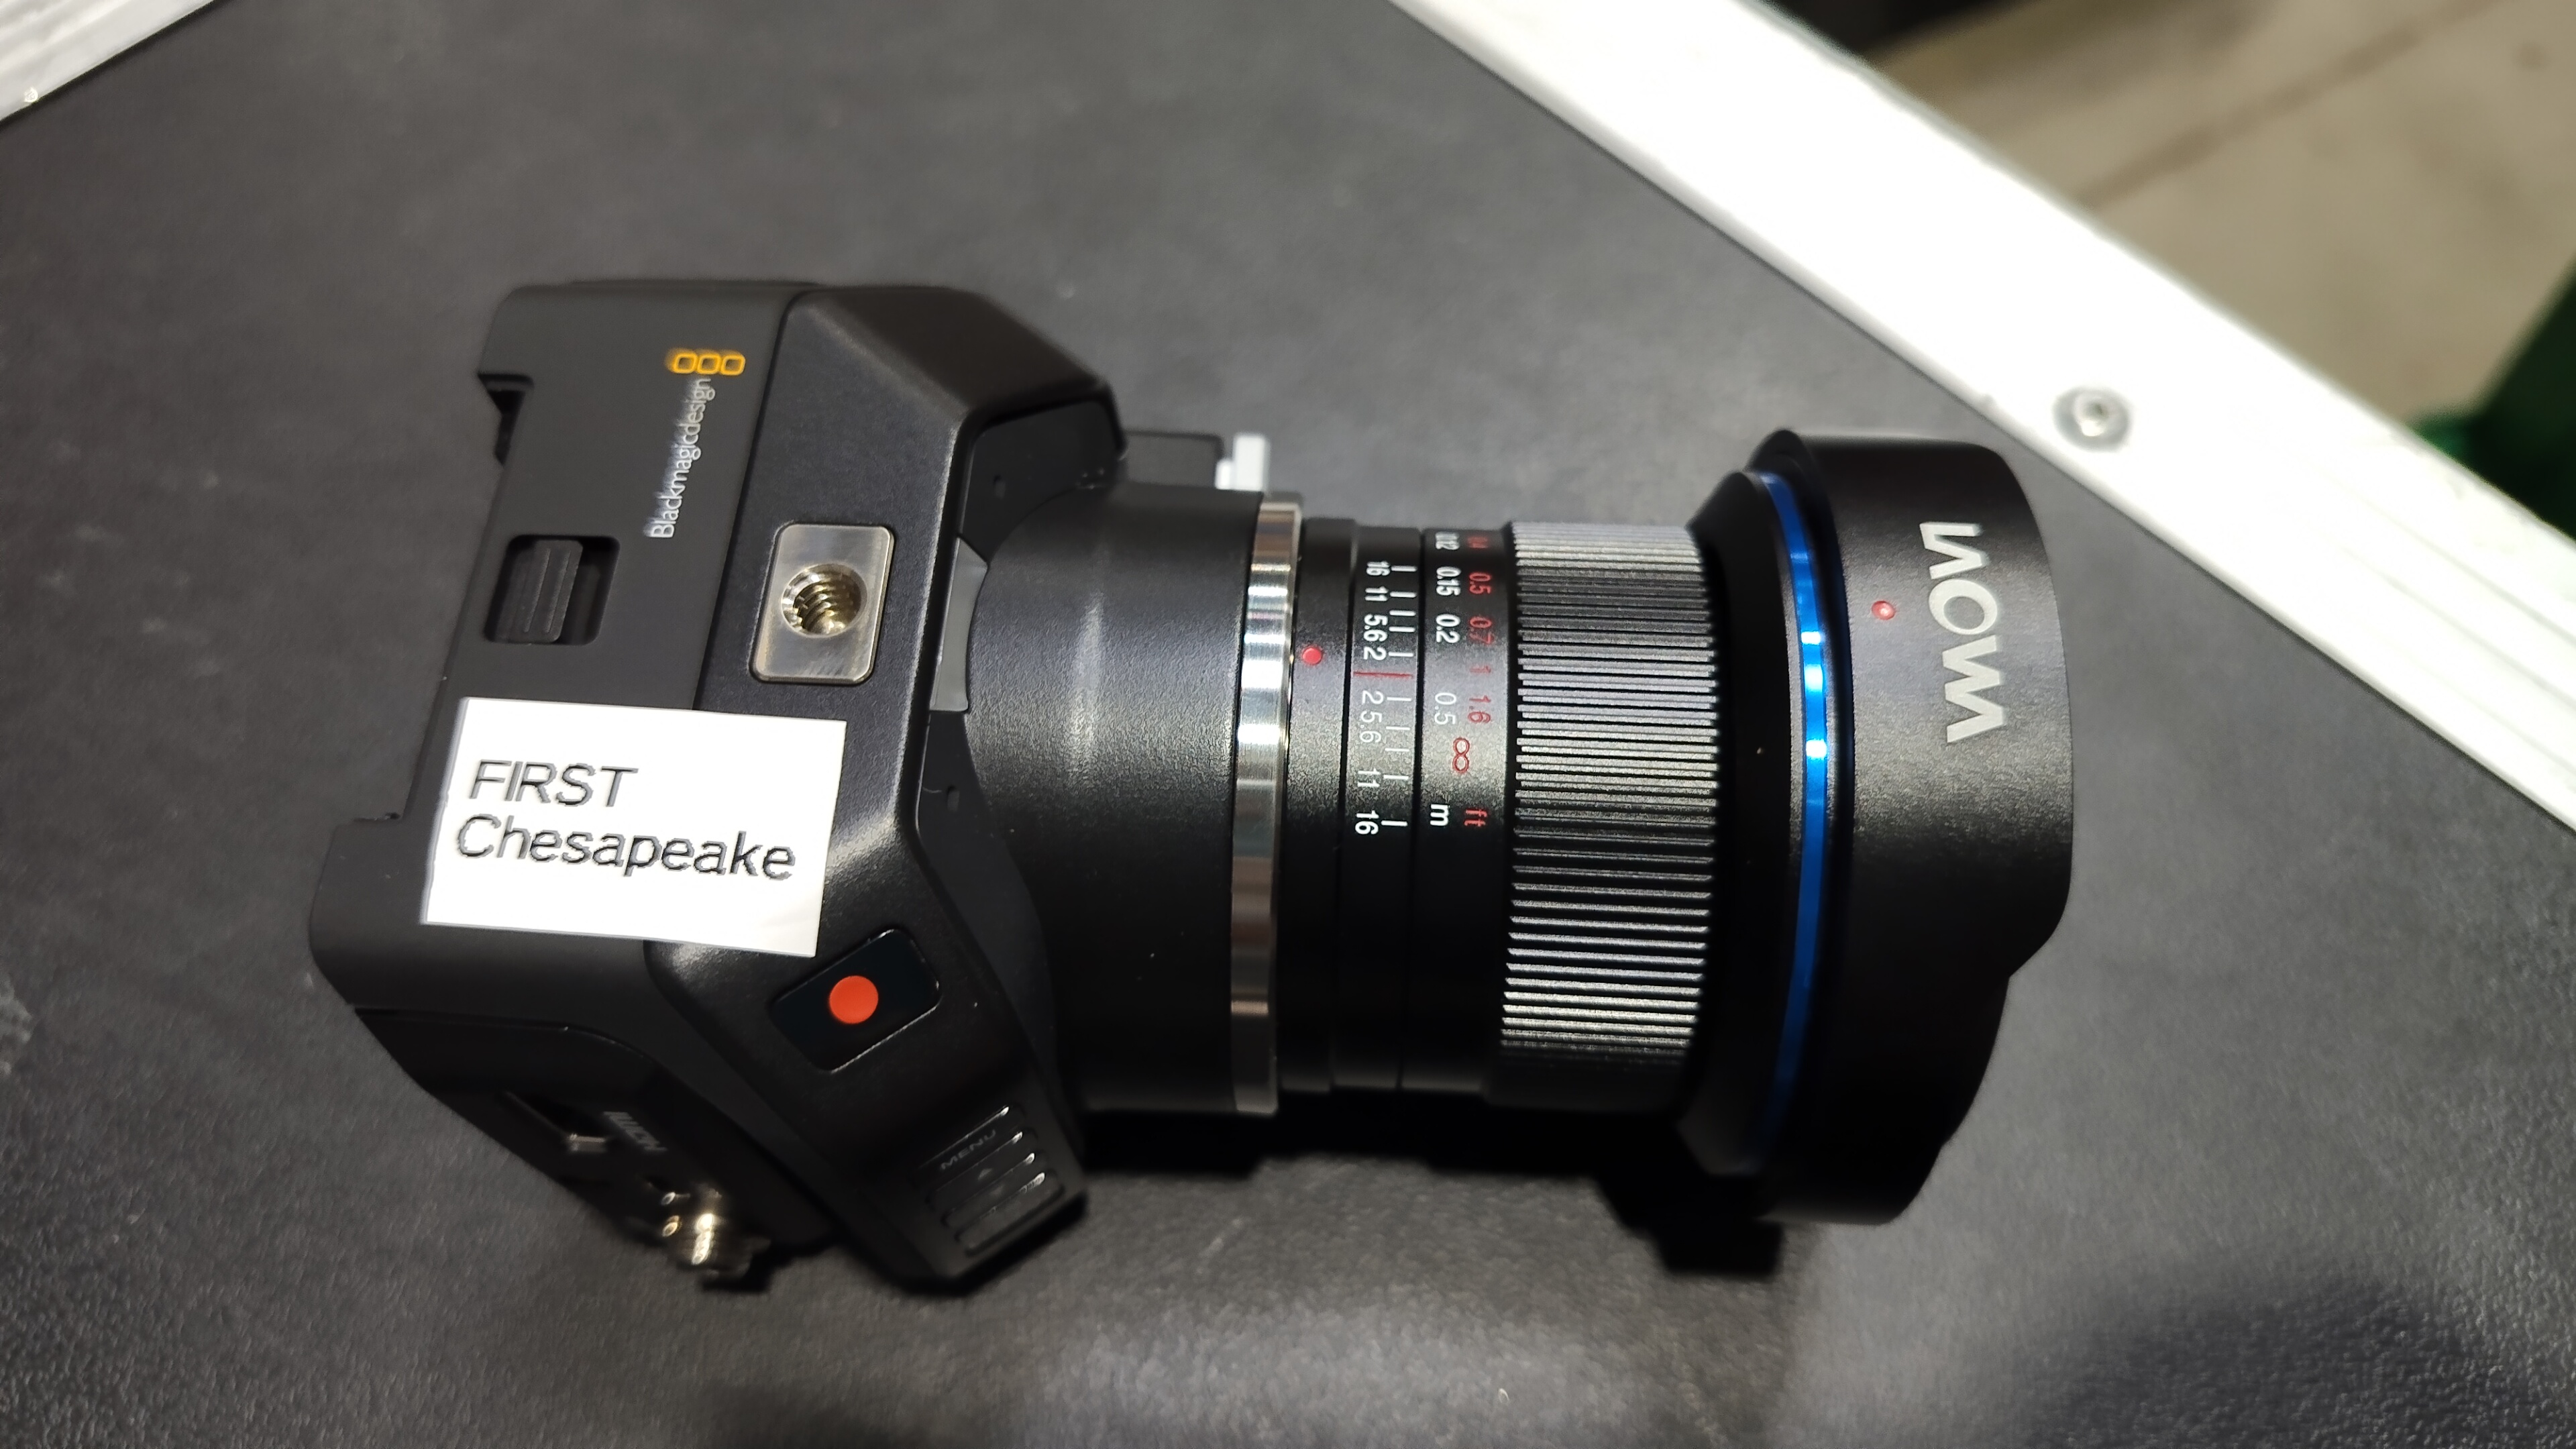
Remove the lens and camera from the box. Twist lens caps counter-clockwise to remove. On the camera, the grey button (circled, red) must be depressed to remove the lens cap.
-
Align the red dots on the camera lens and camera body to push together, then twist clockwise until a click is felt. When secure, the red dot on the camera lens will face upwards.
-
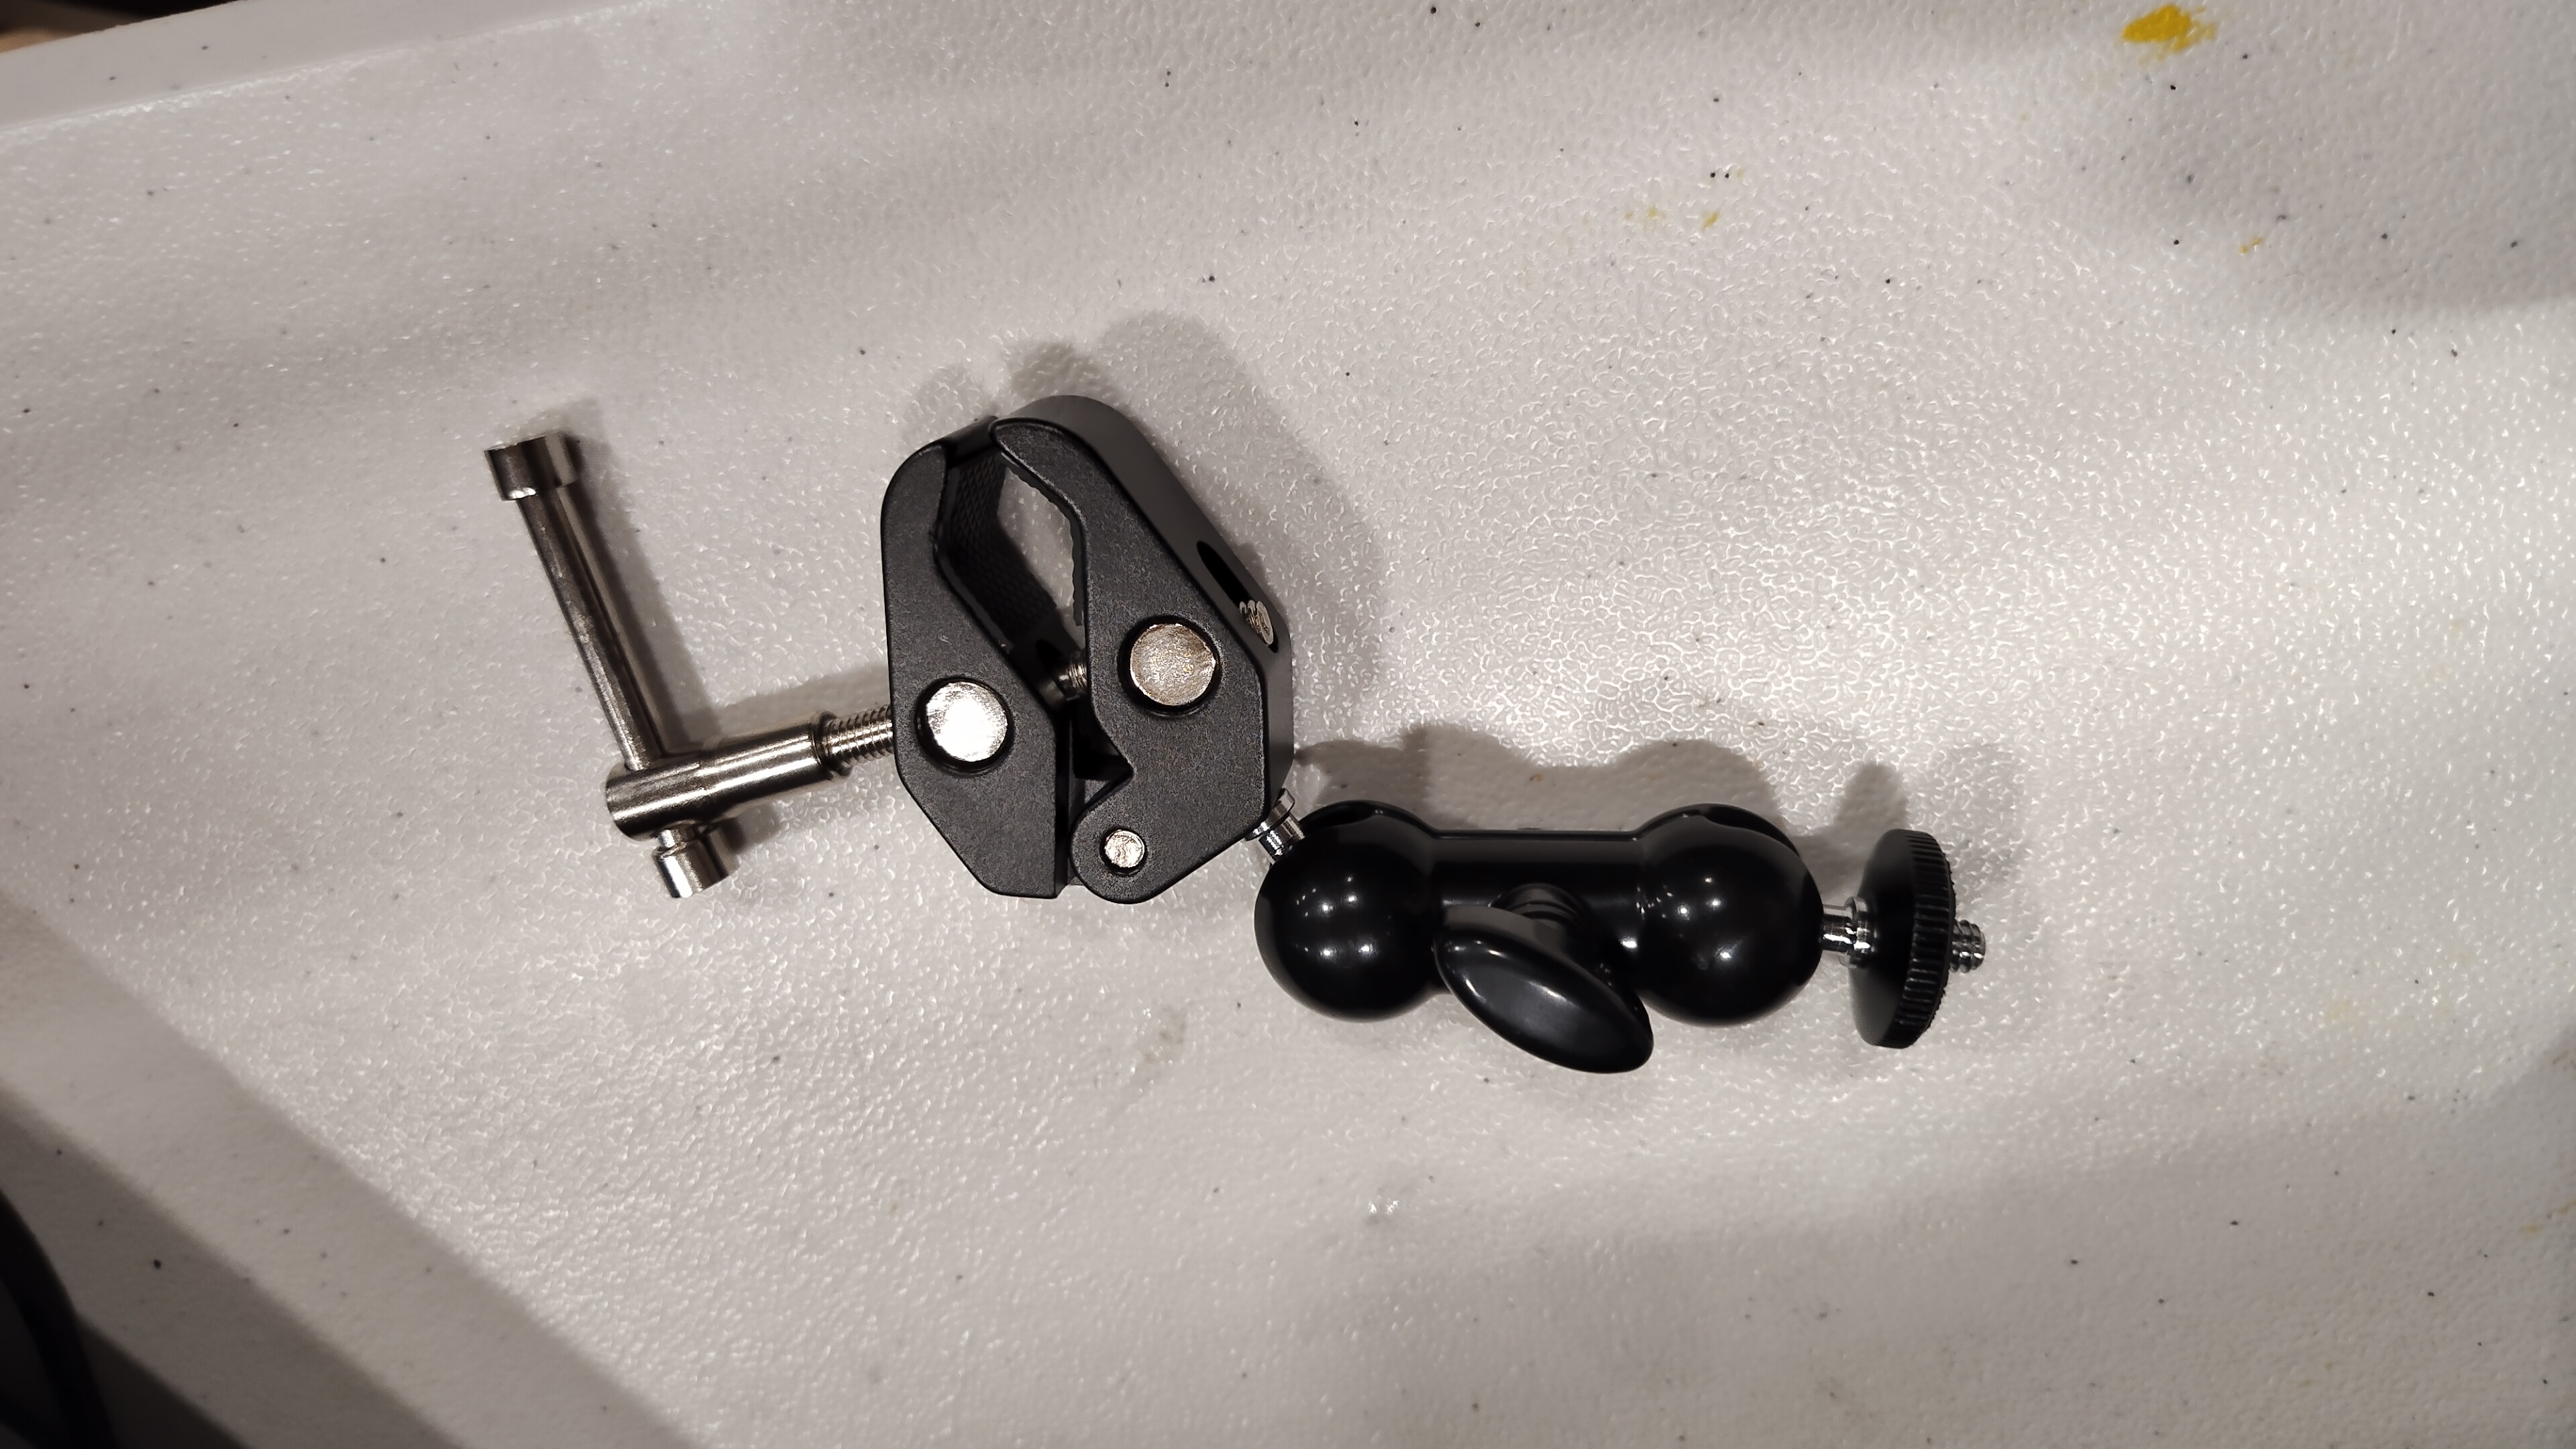
Locate a ball head joint. These are most commonly placed back in the drawers of the Streaming Unit, but may also end up in the drawers of the Audio Case.
-
Mount the ball head joint to the screw thread on the tall tripod, and the camera to the ball head joint. Tighten until camera is secure and pointed relatively at the field.
Don’t raise the camera just yet, this is done in a later track. -
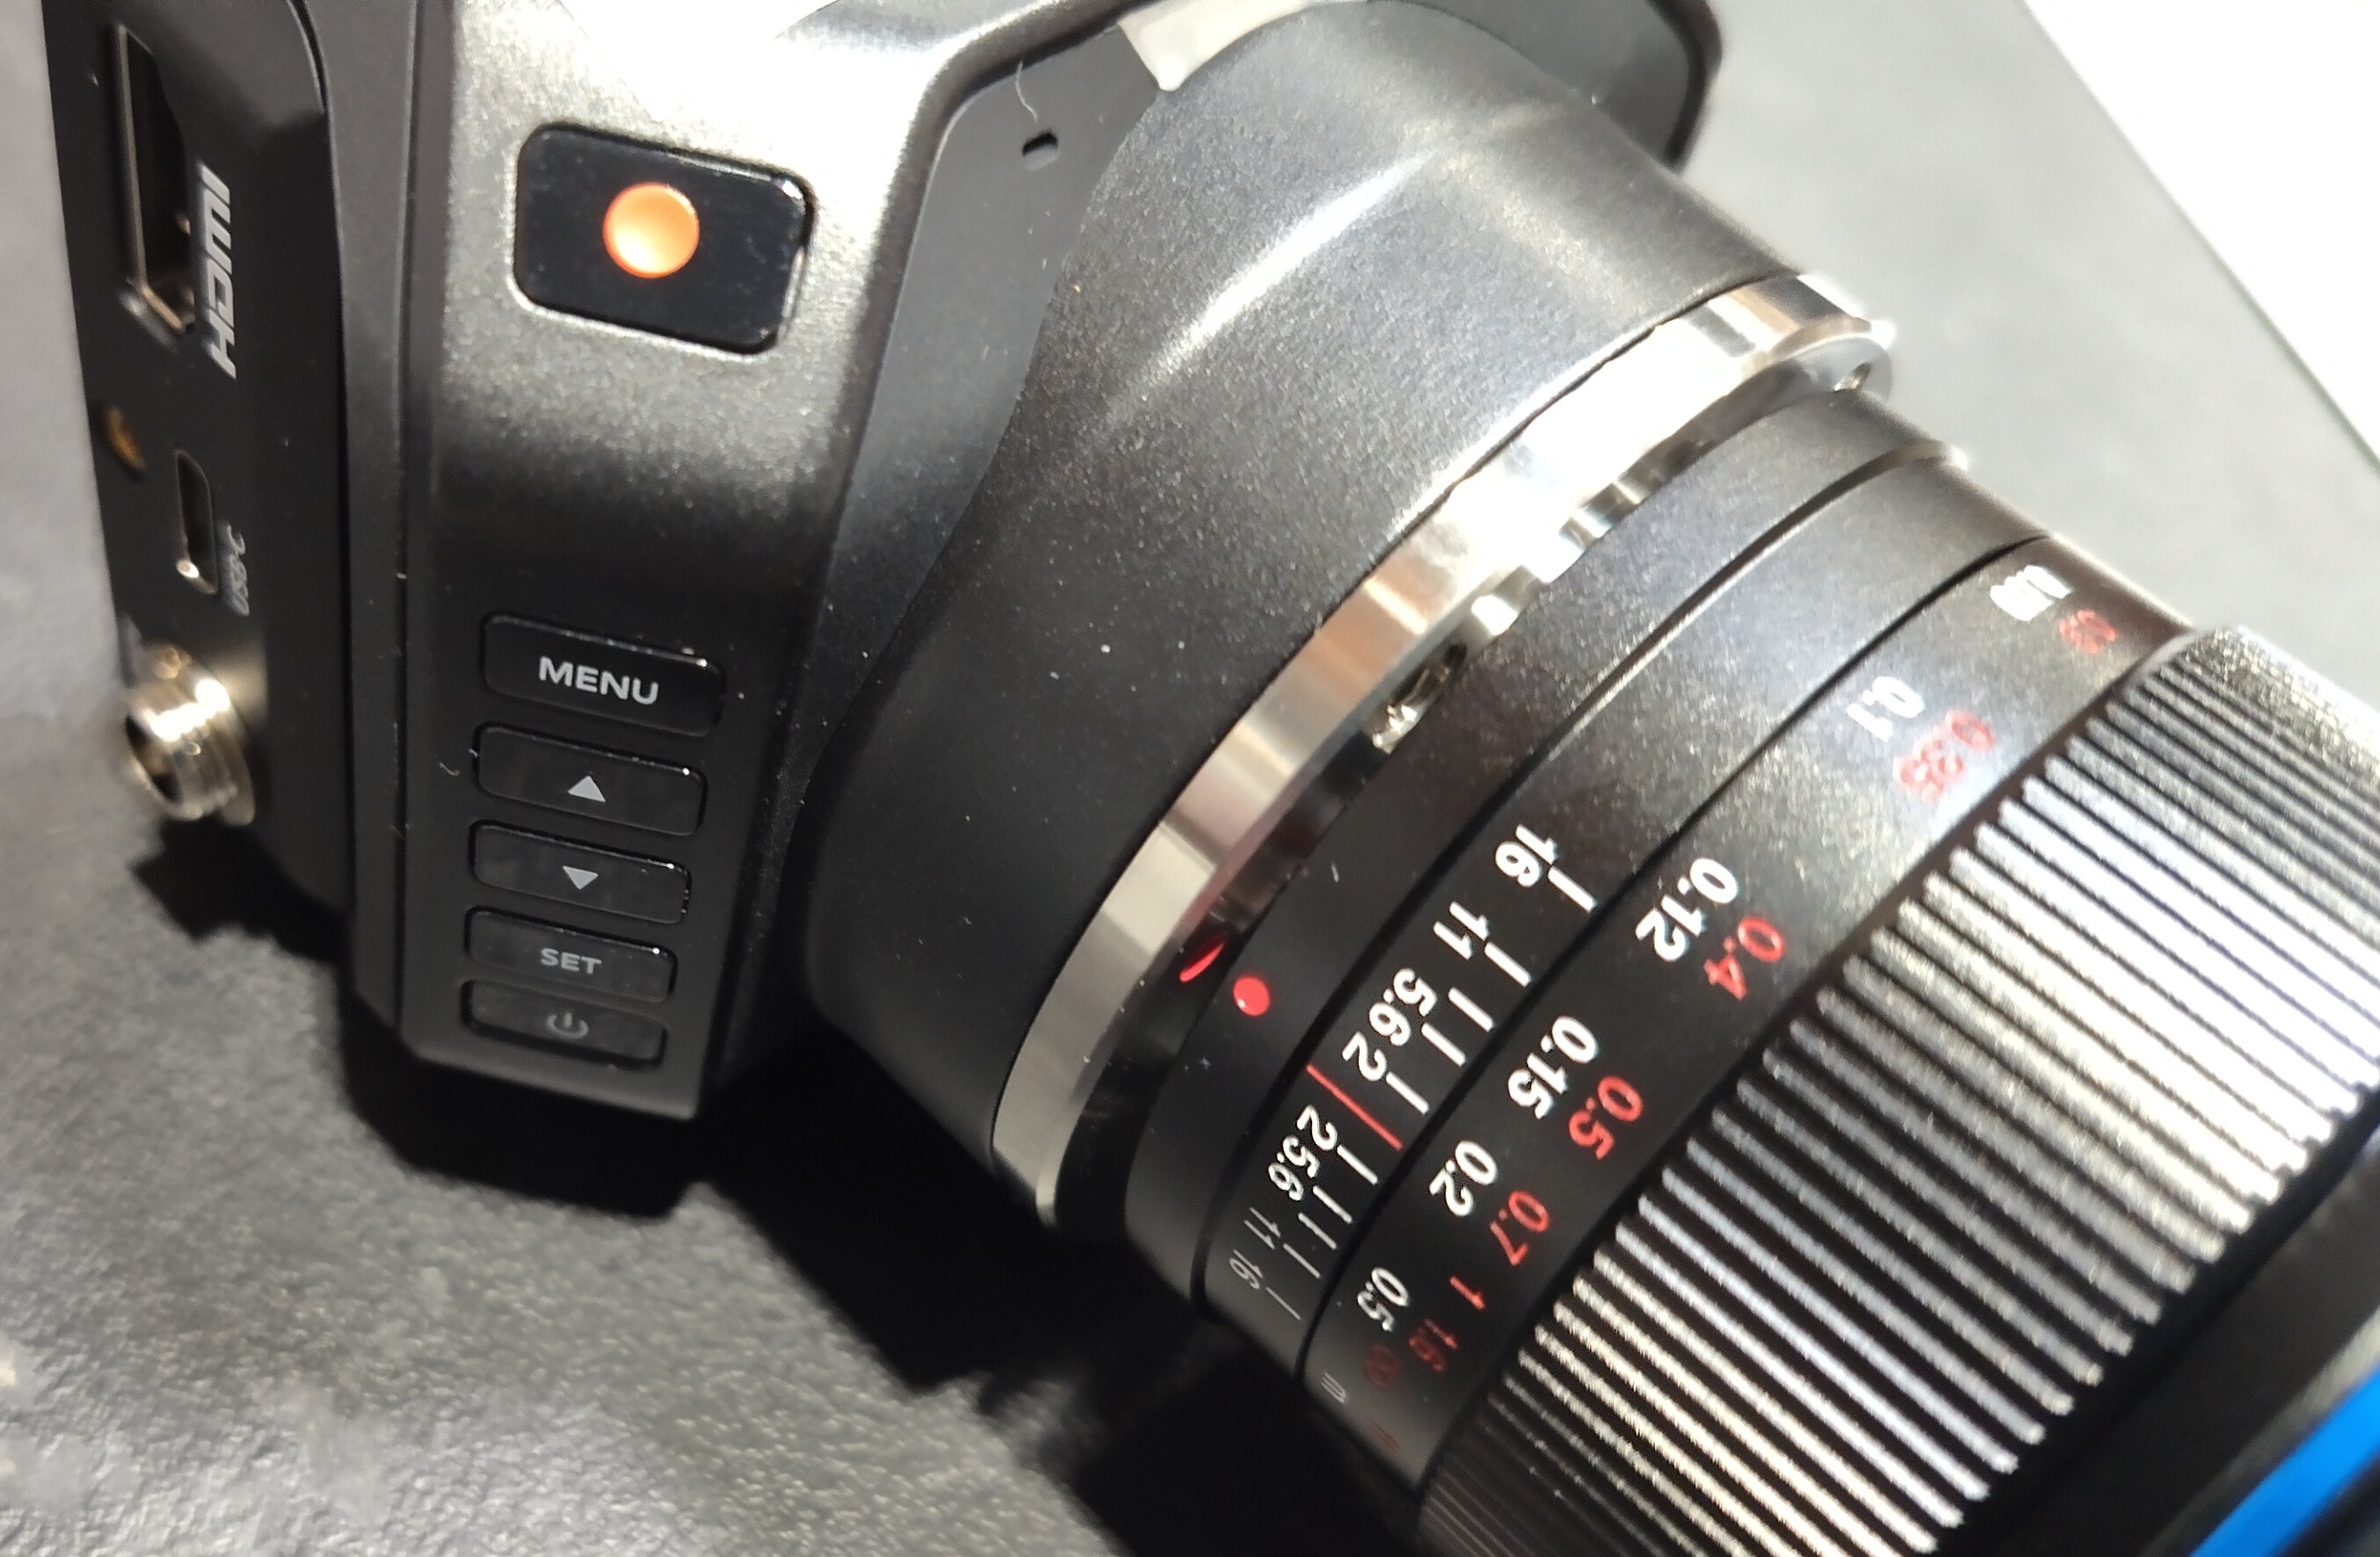
Remove the front lens cap by gently pinching the two tabs towards the center of the lens cap.
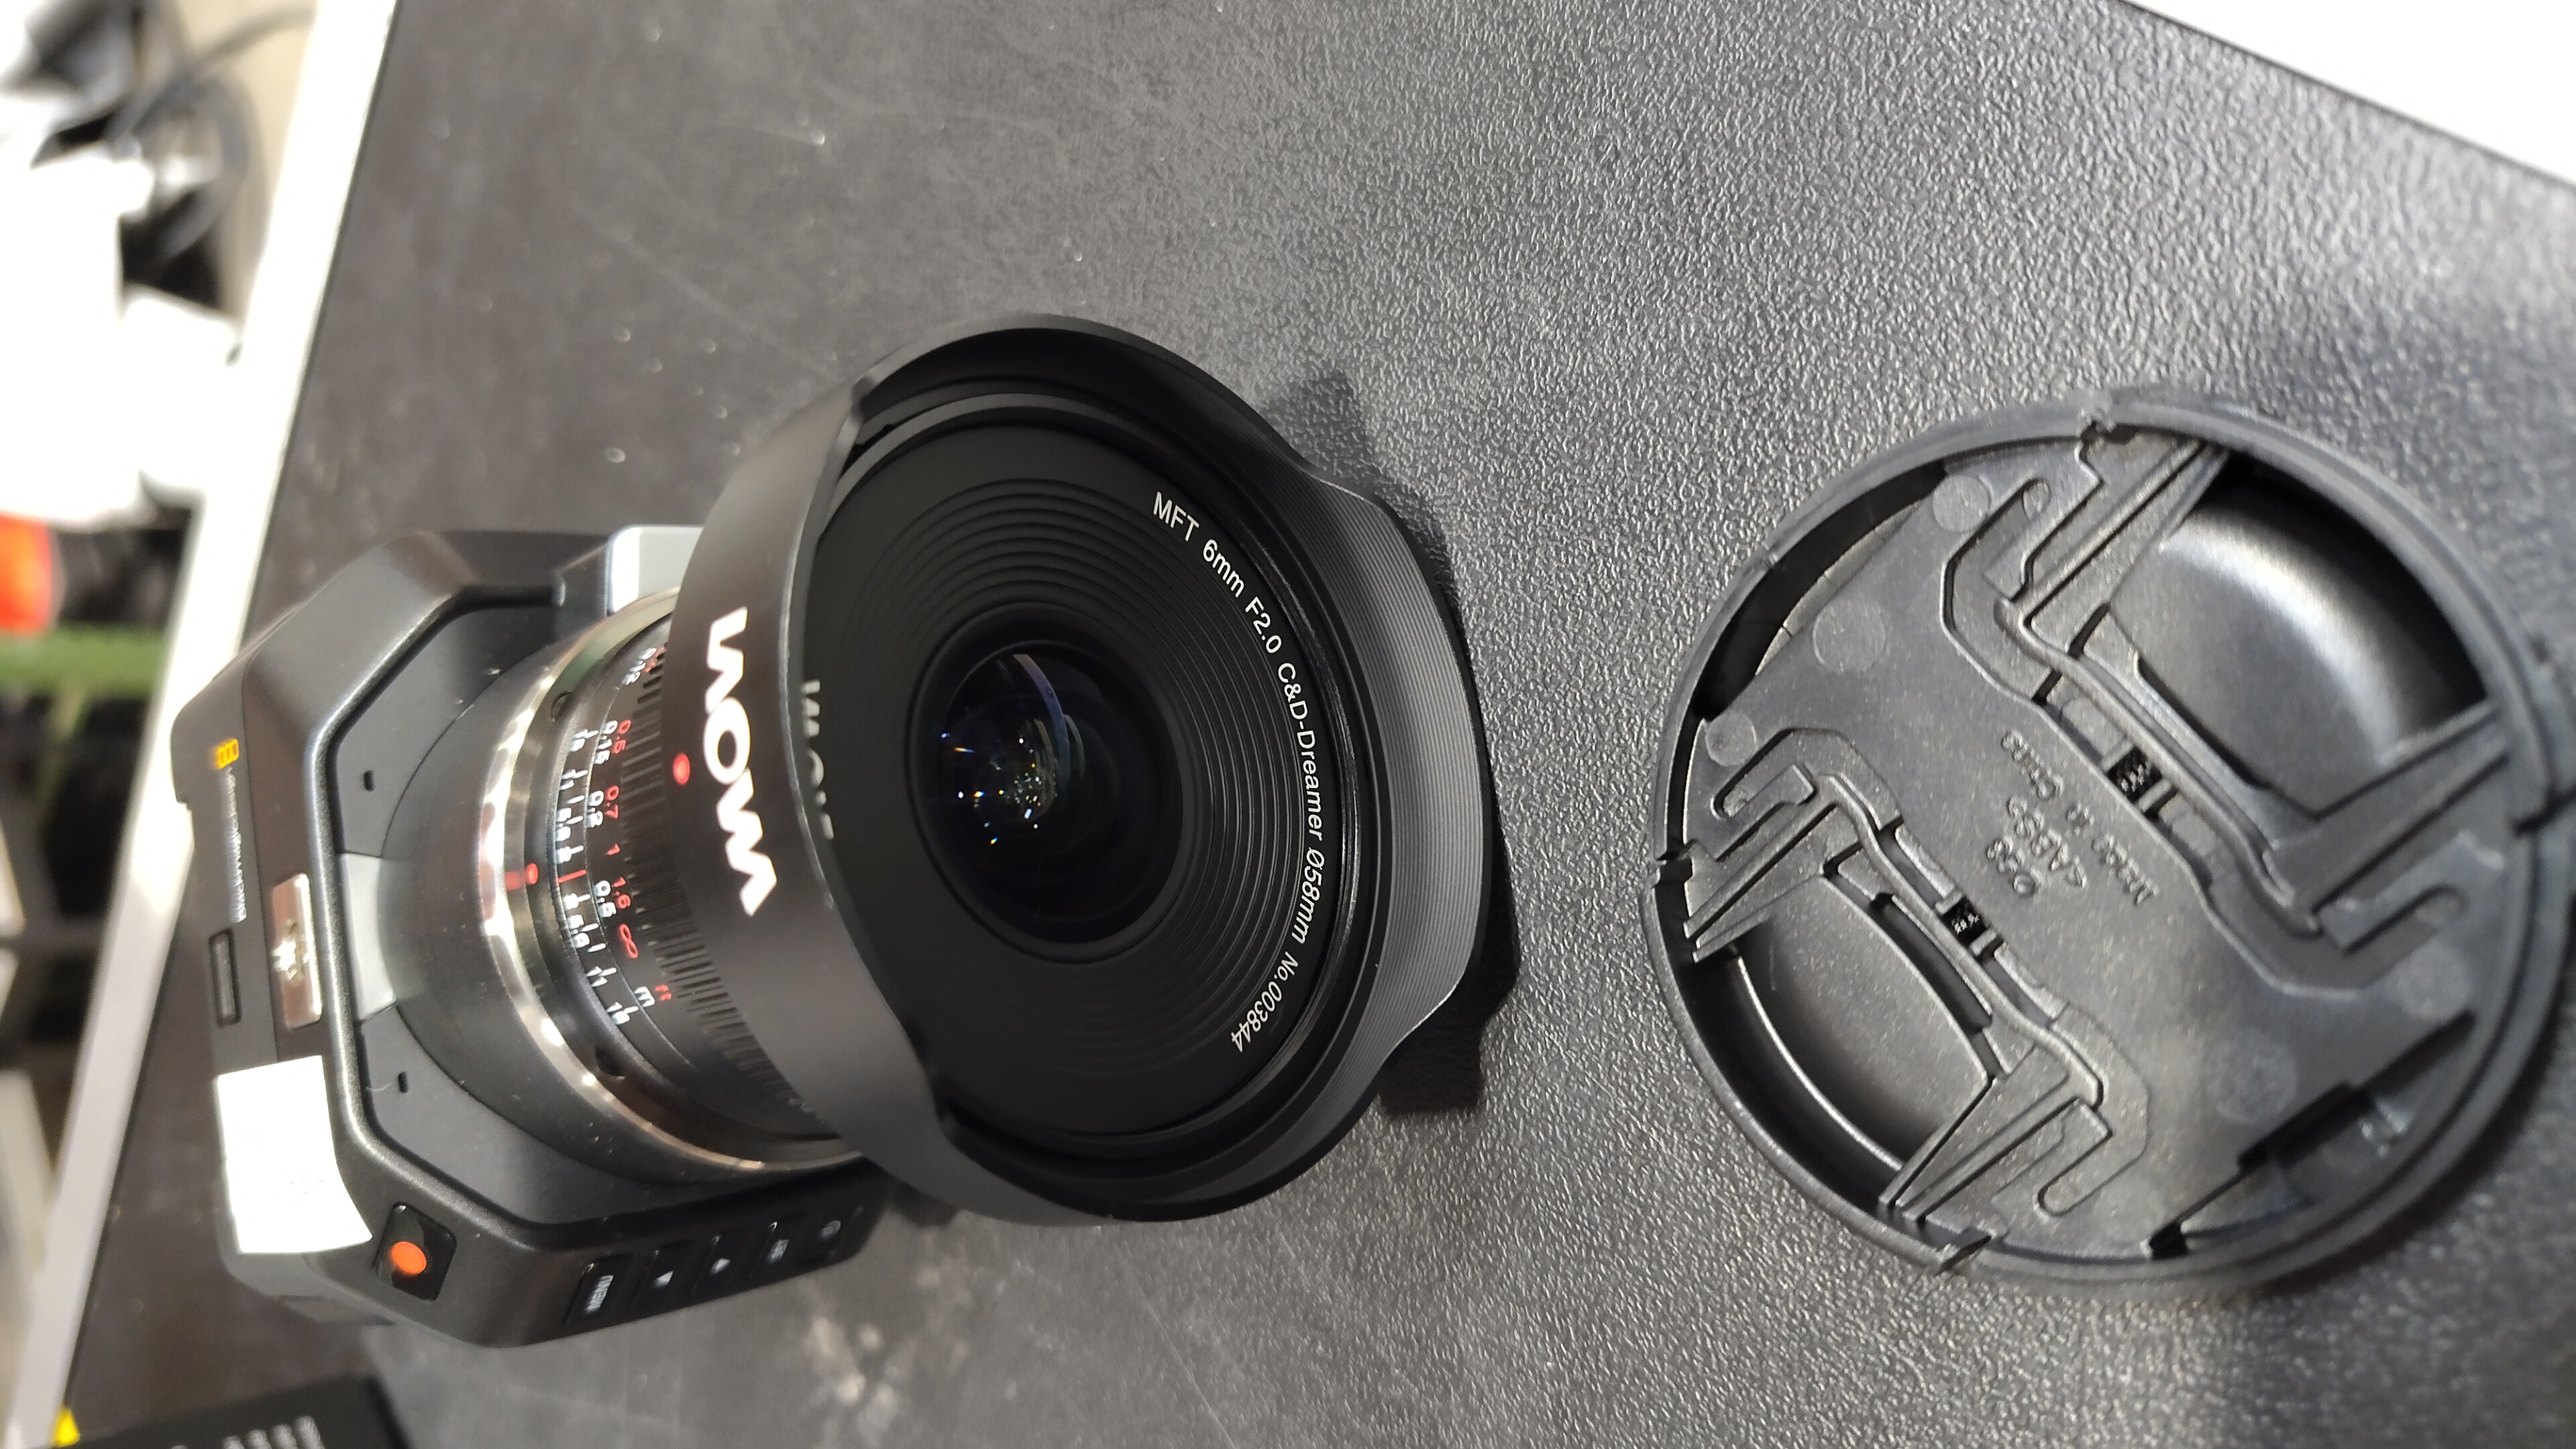
Don't lose the lens caps!
At the end of these steps, there will be three lens caps that need to be placed back into a known location for teardown. The suggested location is to place these back in the Overview Camera tub so that the tub can be safely stored during the event.
- Extend the legs on the tripod so that they lay stably on the floor (i.e., the center joint is off of the ground). A sandbag (found in the AV case) can be used to attach to the center joint and stabilize further, if needed.
Stage 2a is complete.