Materials needed: Standalone SDI cable, mini-SDI to SDI cable, center camera power adapter, extension cord, ball mount.
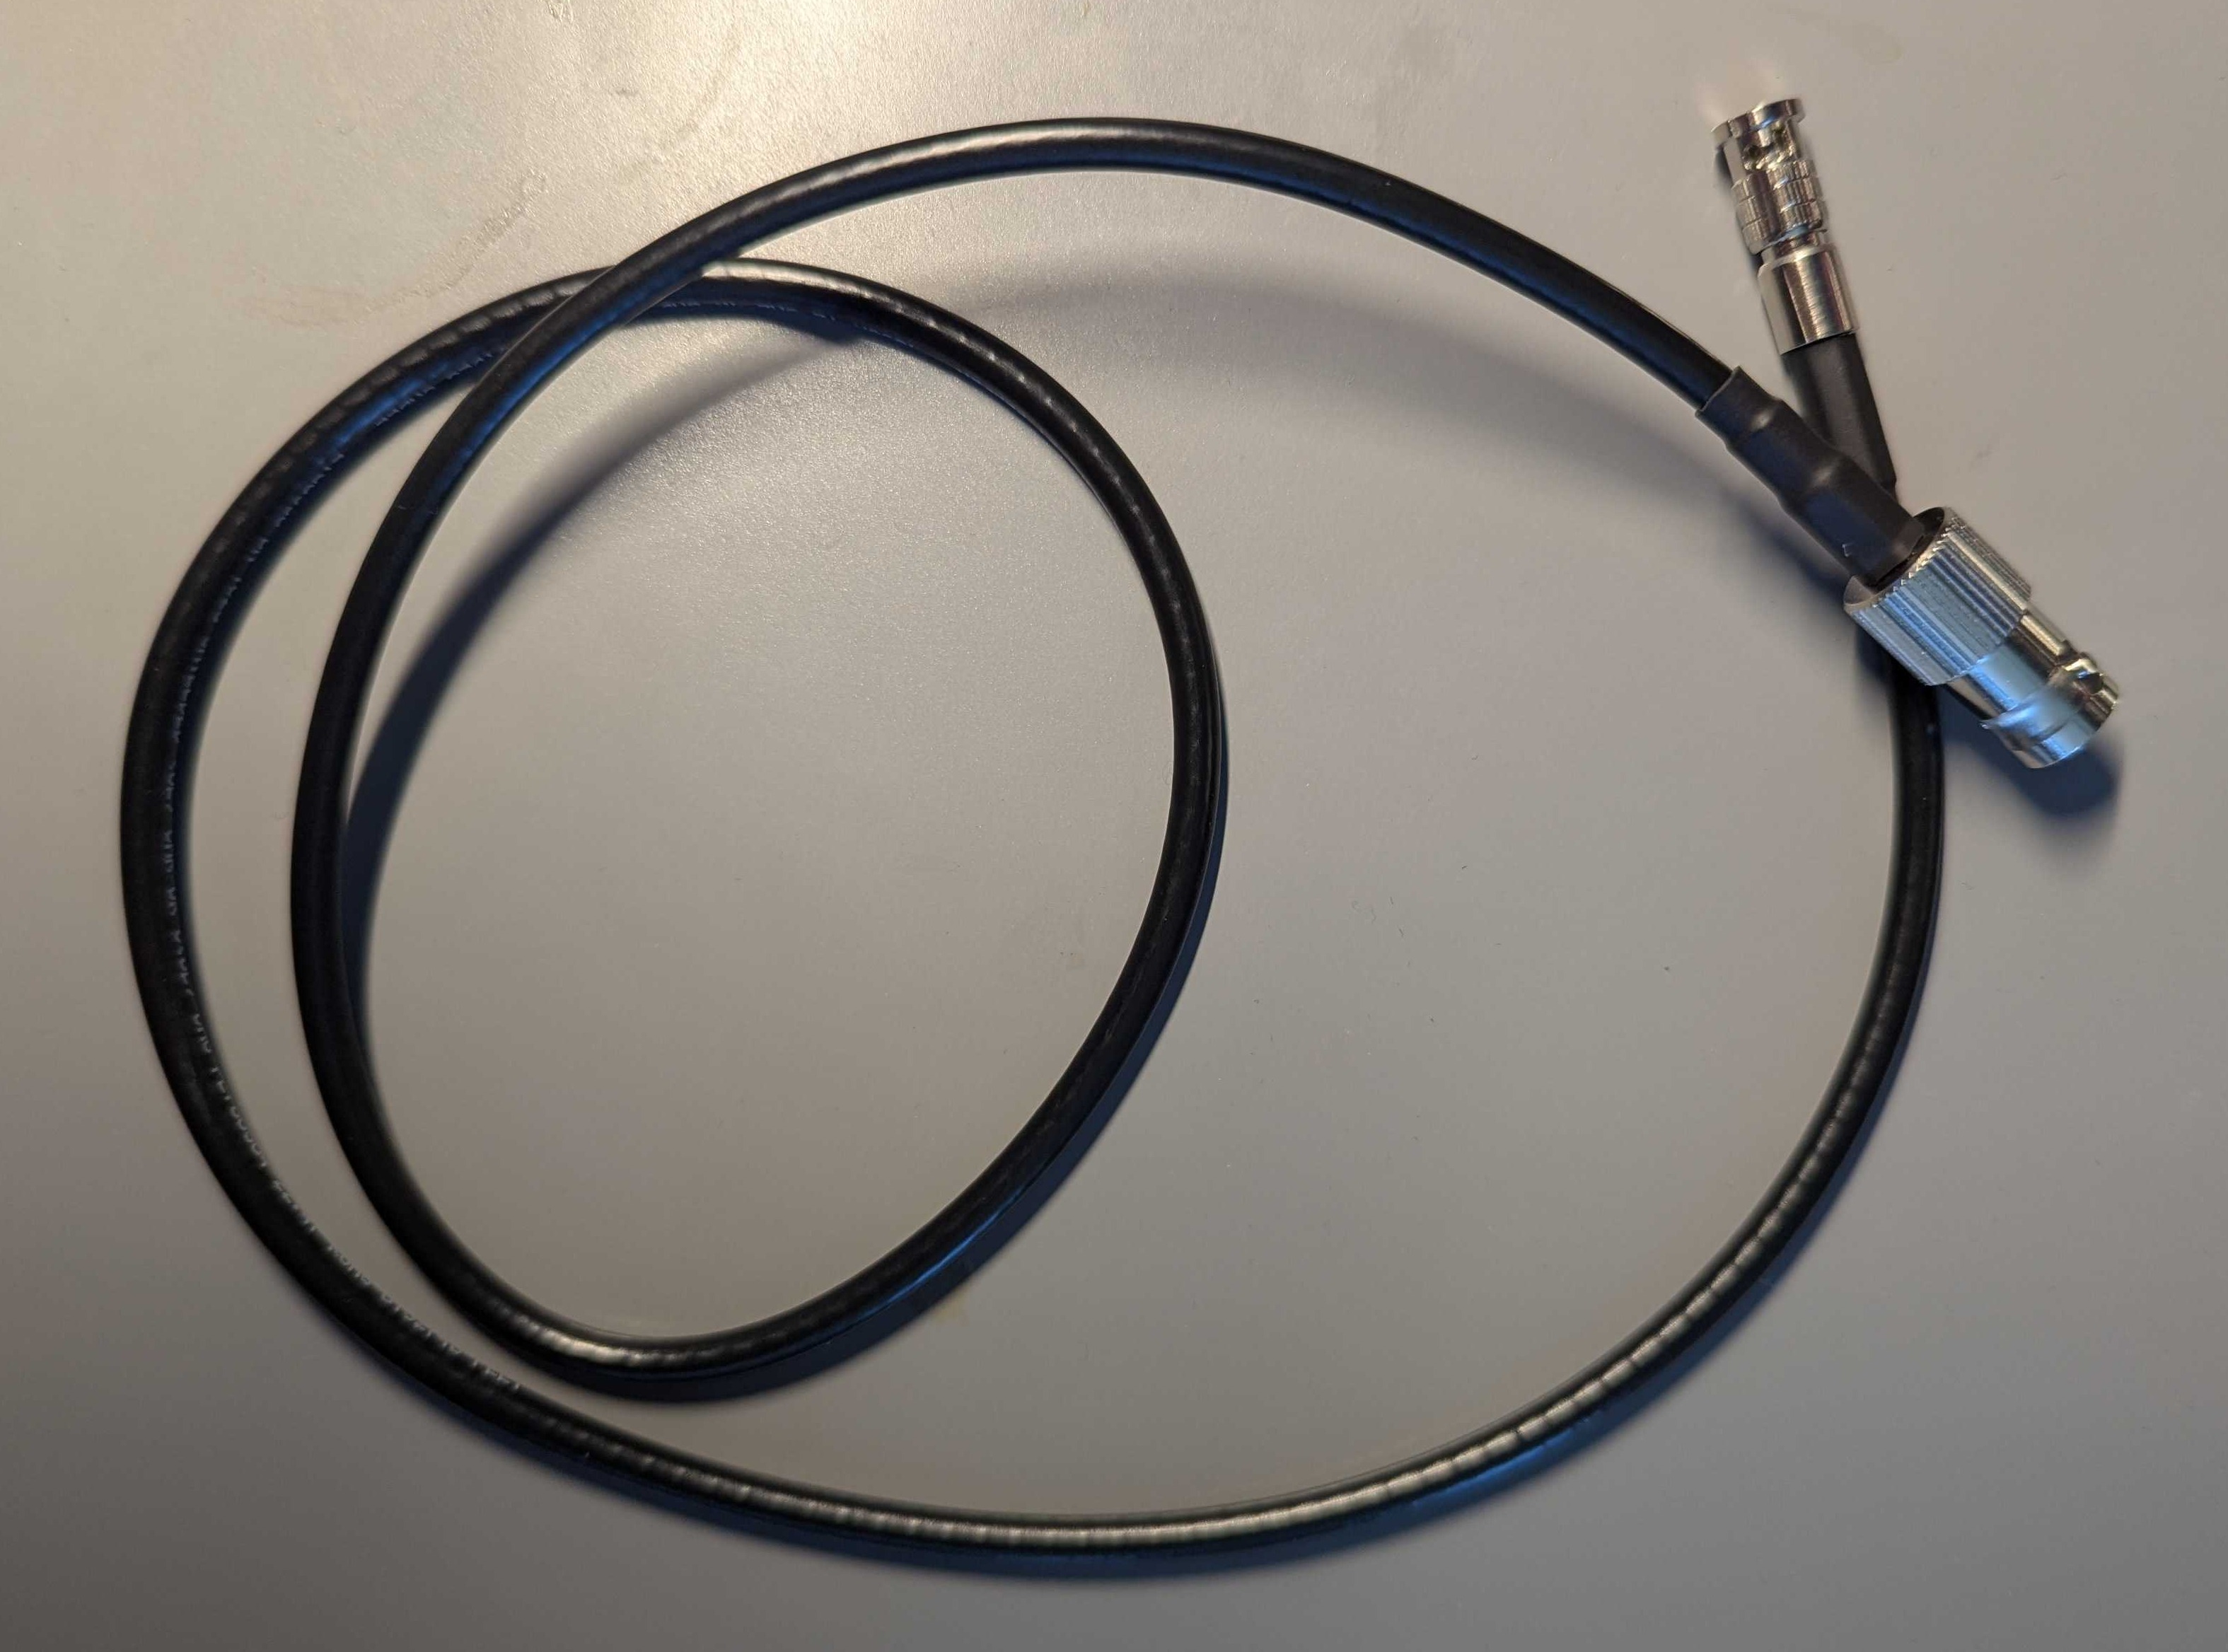
- Retrieve the center camera power adapter and mini-SDI to SDI cable (shown below) from the Production Drawers.
- Retrieve an extension cord from the power AV tote. The tri-tap may be located in one of the Production Drawers drawers instead of the power tote.
Keeping Up Appearances
The center camera is the most visible to the audience of all of the cameras. Keep tidiness and neatness in mind while setting this camera up. For example, avoid using an orange or yellow extension cord in the cabling of this camera.
-
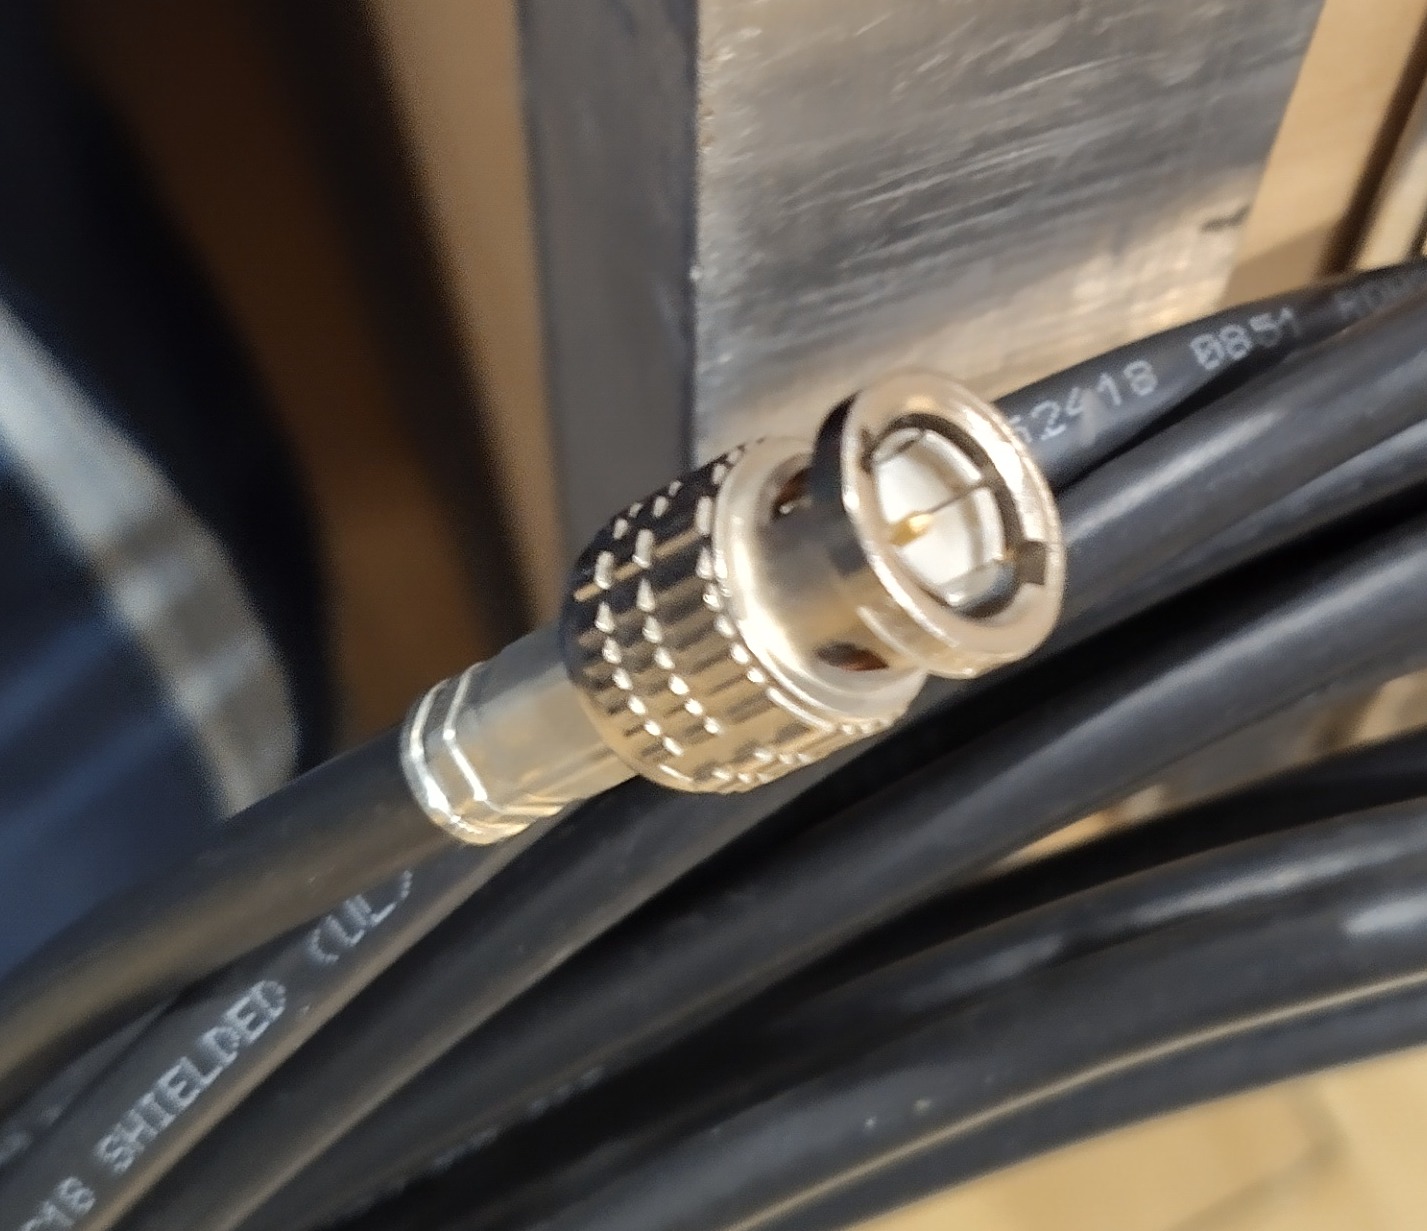
Retrieve a standalone SDI cable from the SDI AV tote. These cable should not be in a sleeved bundle and should contain only the twist-lock BNC connector on the ends.

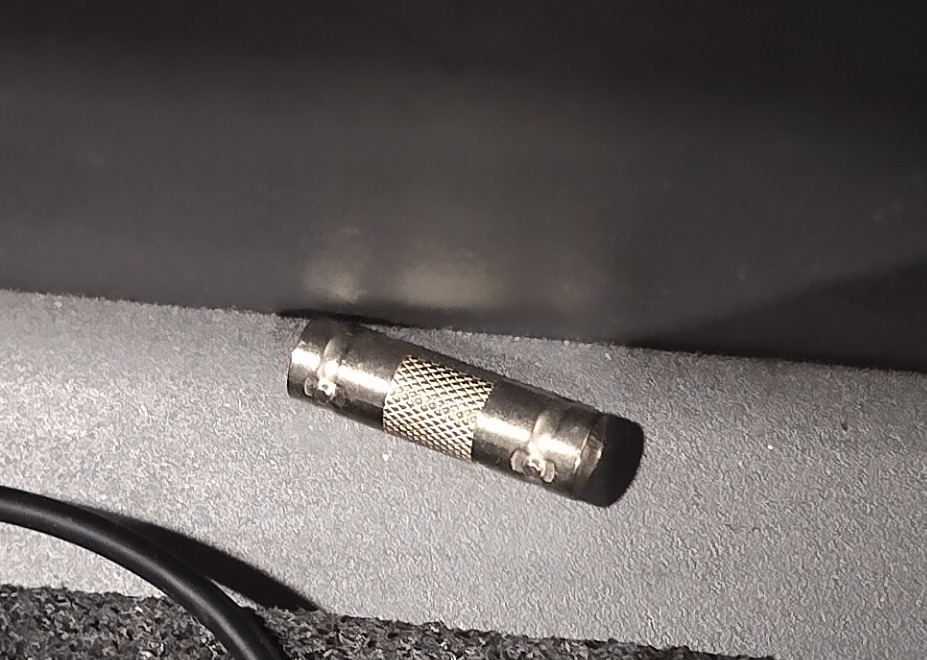
If one SDI cable is of insufficient length to make the run, there are BNC couplers inside the bottom-most drawer of the Production Drawers or the SDI AV tote (seen below). You may need to investigate the ends of the SDI cables inside the tote to find one that is still connected to a cable, or pull all of them out to investigate the bottom of the tote. If a BNC coupler is used, it should be placed back in the plastic organizer located in the bottommost drawer of the Production Drawers when finished.
-
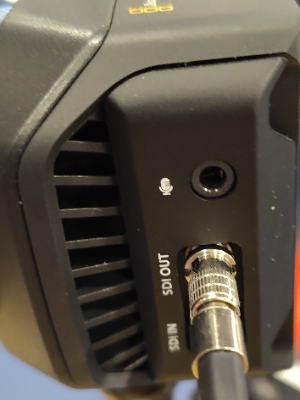
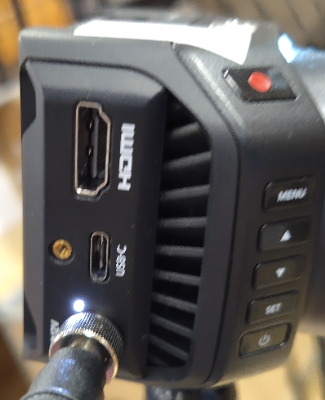
Attach the mini-SDI to SDI cable to the “SDI Out” port of the camera. Attach the standard SDI cable to the end of the mini-SDI to SDI cable.
-
Plug the camera power adapter into the DC In jack of the camera. Twist the silver ring clockwise until just snug to secure the connector.
-
Use a length of gaffer’s tape to tape both of these cables to the tripod pole. Leave some slack at the camera to prevent the connectors from being pulled on.
-
Run the extension cord (with tri-tap on the output) from an accessible location with power to the area where the center camera is to be located. This is most commonly going to be from the scoring table, but some venues have power that is closer from the rear. Use the path that will cross the least amount of walkways and consult with the Equipment Manager if you have any questions.
-
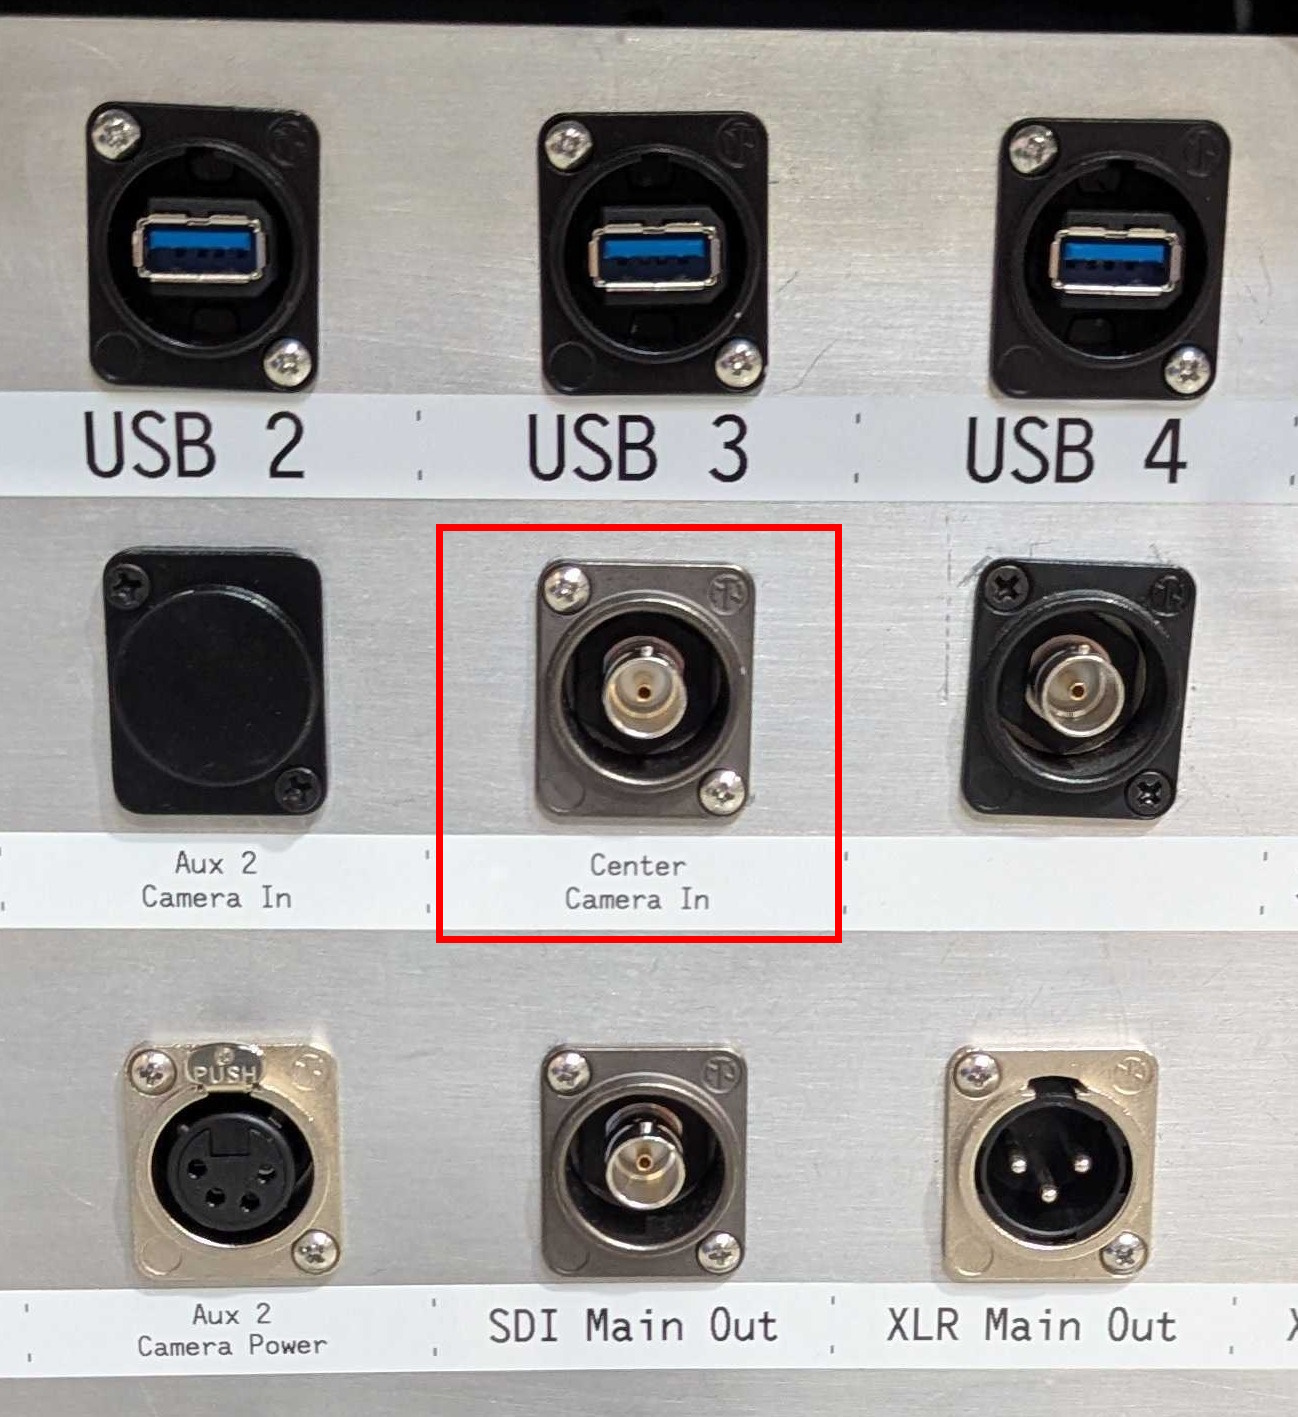
Run the long SDI cable back to the Streaming Unit and attach the SDI connector to the Center Camera In.
-
Plug in the power for the camera. Verify that the camera powers up (look for an LED on the top of the camera to light up). Verify that the signal is received on the Streaming Unit’s input for the center camera feed. Check all SDI cabling if any failure in video signal is detected at this time. If a cable is flaky (i.e., cuts out when any torque is put on it or is otherwise intermittent), replace it and notify the Equipment Manager of the cable.
-
Conduct a focus check.
Tap to expand/collapse detailed steps on conducting a camera focus check.
Raise the tripod to the height it will be at during the course of the event. Verify that the framing is acceptable with the Equipment Manager, and adjust if needed.
Observe the contents of the monitor. Areas in focus are highlighted in red. The field should contain lots of red lines when in focus.
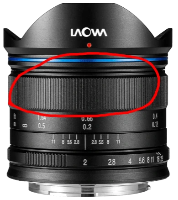
If the field does not contain red lines, lower the camera and adjust the focus by twisting the section of the lens with wide knurling on it, seen below.
Raise the camera on the tripod to check the focus after any adjustment, and repeat previous steps if necessary until the field is in focus.
Stage 3c and Track 3 is complete! Typically, the next step is to complete stages 4a. Unpack and Assemble Screen or 5a. Setup Audience Display. You can also return to the index.