Supplies needed: 2x Combination SDI/Power cable, 2x camera (1 Red & 1 Blue), 2x tripod, 2x camera power cable, gaff tape.
This stage requires that the field borders be finished to fully complete. If it is not finished as you carry out these steps, revisit the positioning of the cameras once field borders are finished.
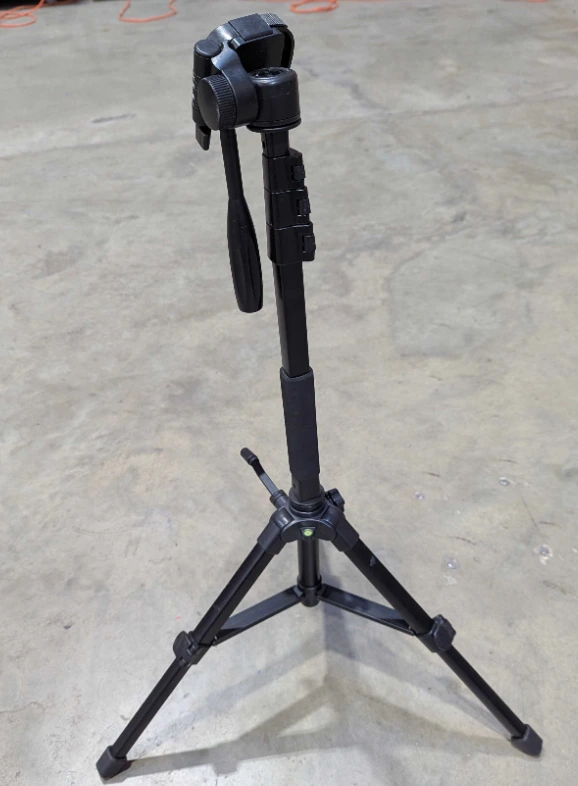
- Retrieve two tripods from the AV Case. Because of their small size, the tripods may also be located in one of the AV totes.
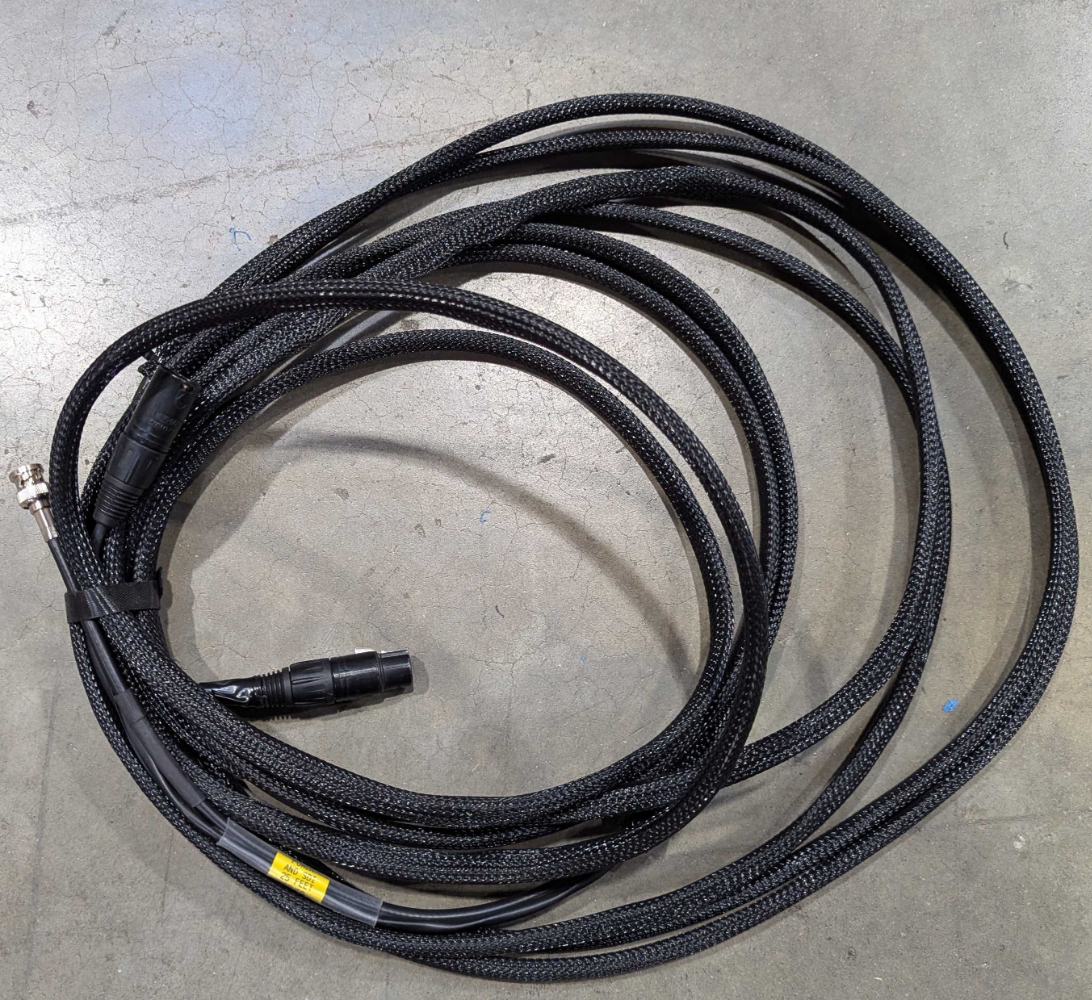
- Retrieve two combination SDI/Power cables. These cables have braided sleeves on the outside.
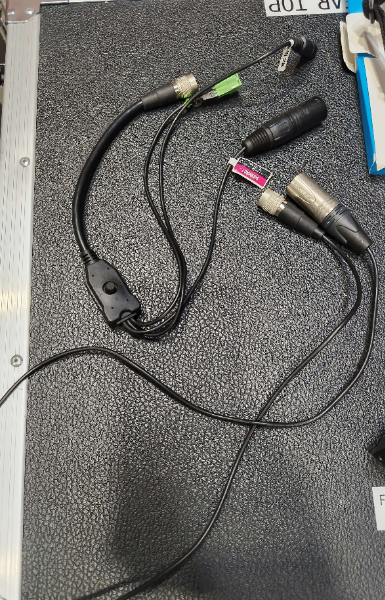
- Retrieve two camera power cables. There are two types of camera power cables in use, as pictured below. You can use either one.
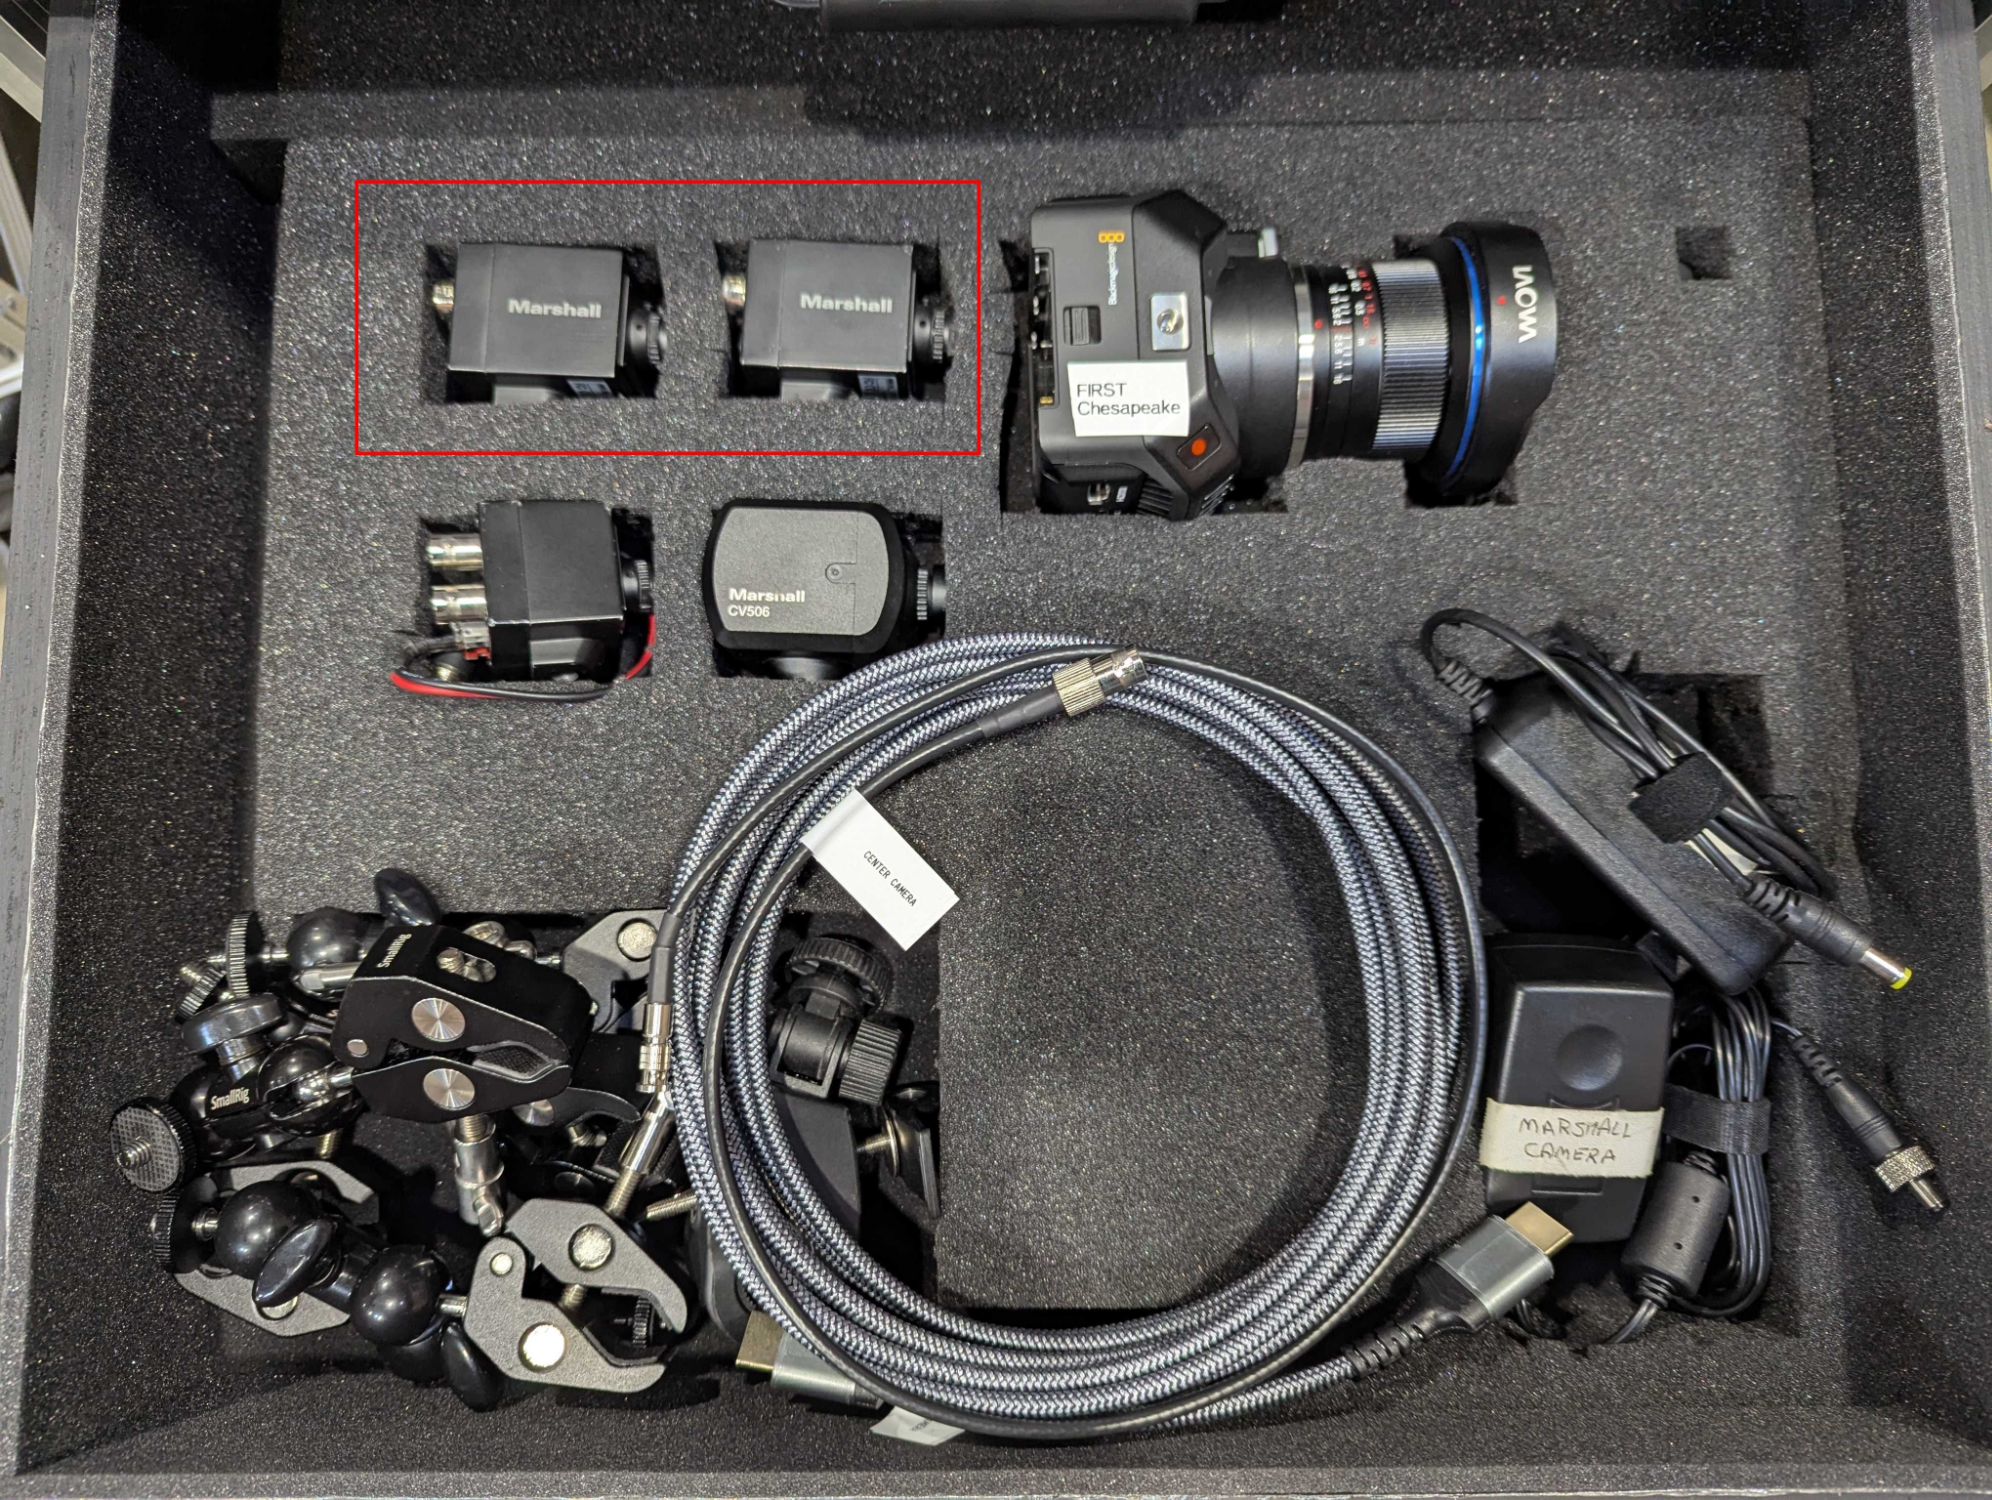
- Retrieve the two alliance cameras from the Production Drawers’s Camera drawer.
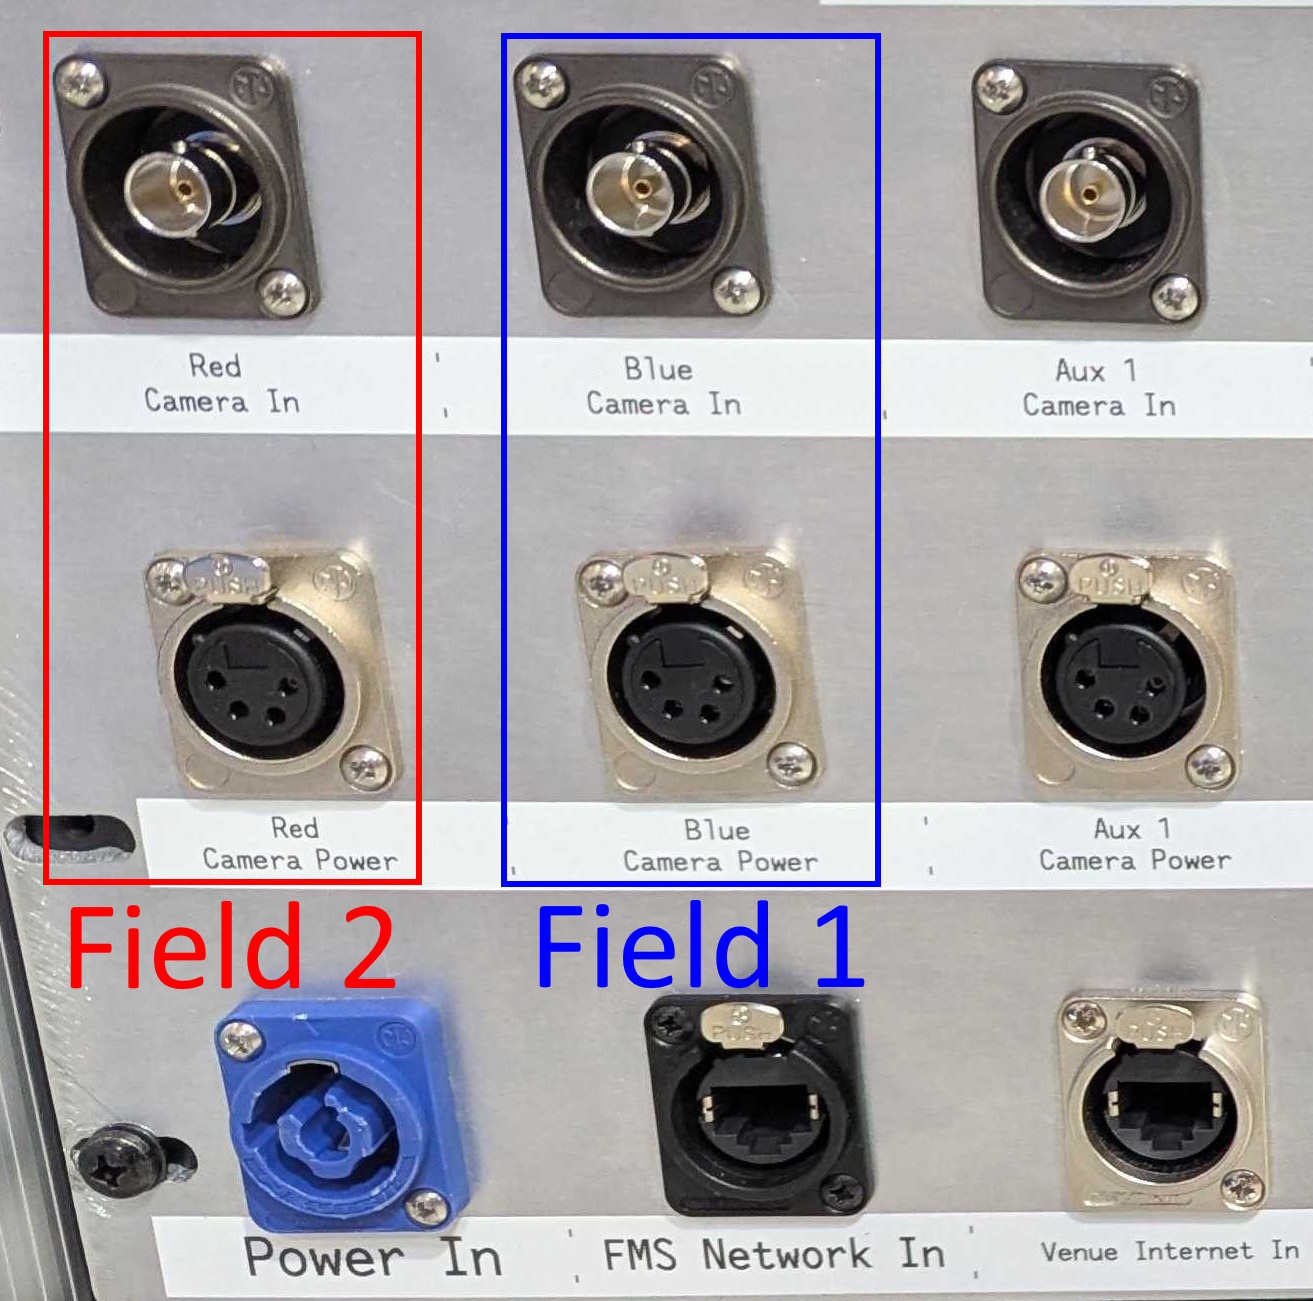
- Determine a good location to place each field camera. Check with the Equipment Manager regarding this. In general, the cameras should be located in front of the field on the audience side, and need to be able to capture all parts of the field visible from that angle (i.e., far enough away to capture the whole field). Note that in our setup, field 1 corresponds to Blue and field 2 corresponds to Red.
What is proper camera positioning?
The full field needs to be captured in the image, but simultaneously as little extra information should be in frame as possible.
- The camera should be straight-on with the field with no turns to the left or right.
- The front edge of the field down to the tile (through the transparent border) needs to be visible, as some games involve play at the very front corners of the field.
- Any parts of the field that stick up further than the perimeter need to be captured with sufficient room to show robots that reach up to complete them.
- If the game involves shooting, some head room (~1-2 feet) should be allowed to show the game pieces traveling through the air before reaching the destination.
Place the camera as close as possible to the field given the previous constraints. This ensures that the highest detail level possible is captured. Make sure that both fields contain similar framing (compare the two fields side-by-side on OBS).
- Run one cable to each location, placing cables out of walkways where possible, or using cable ramps where crossing a walkway is required.
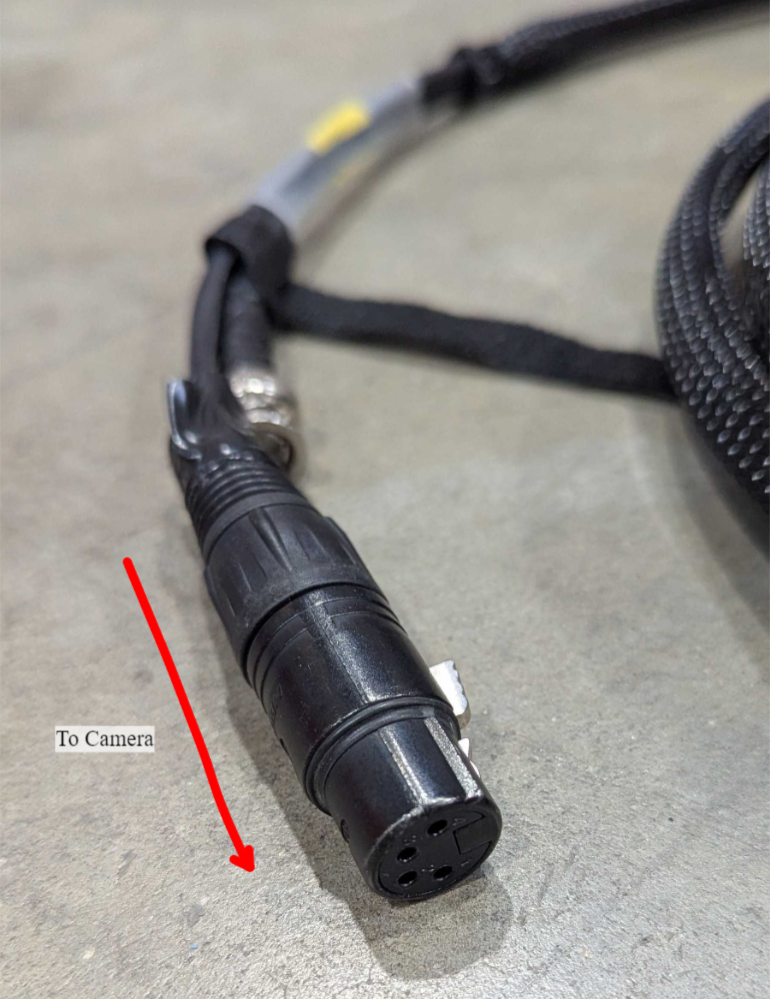
Camera Power Cable Polarity
The camera power cables are unidirectional. The side of the cable with the plastic protruding from the metal housing goes “out” from the Streaming Unit, i.e., towards the camera. The side of the cable with metal pins recessed inside the metal shell goes “in” to the Streaming Unit, i.e., towards the streaming unit. When running the cable, make sure to run with the correct side going in the intended direction.

-
Place the cameras on the tripods and raise the tripods up.
-
Connect the four-pin camera power connectors together.
-
Connect the SDI cable to the SDI output on the camera. This cable is a twist-lock type, the cable needs to be pushed into place and then the outer shell rotated clockwise to secure.
-
Connect the circular power connector to the camera.
Fragile Connectors!
The camera’s circular power connector will only go on in one position. Apply light force only and rotate the power connector until it attaches in the correct position. Applying too much force may bend the pins on the camera. If in doubt, ask the Equipment Manager for assistance.
-
Use the gaff tape to tape the cables to the tripod, leaving a little slack to avoid tugging on the camera.
-
Plug the other end of the cables into the panel on the back of the Streaming Unit.
-
Verify focus and positioning of cameras on the Streaming Unit by checking the scenes and images on OBS. Adjust if necessary. Focus is adjusted by rotating the outer ring of the lens.
Stage 3b is complete. Proceed to stage 3c.