Supplies needed: 4x Microphones (2 handheld + 2 beltpack).
- Retrieve all microphones from the Production Drawers (2 handheld and 2 beltpack).
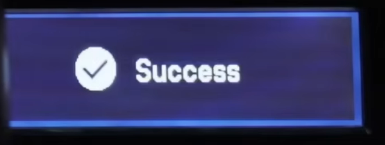
- Matching the color of the tape on the microphone to the color of tape on the microphone receiver, press the Sync button on the microphone receiver, then hold the infrared window on the microphone to the window of the receiver. Verify that the receiver shows a success message to indicate sync is complete.
Tap to expand/collapse detailed steps on syncing microphones to receivers.
Note
The pictures shown here are stock photos, actual appearance may vary.
- Find a microphone and a receiver whose color match (e.g., red to red).
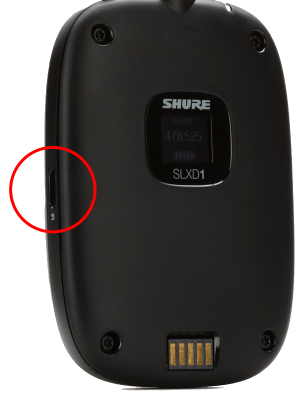
- Press the ‘sync’ button located underneath the receiver’s tape (each receiver’s sync button is outlined in a circle). Note also the IR window visible on the left side, outlined in a square.
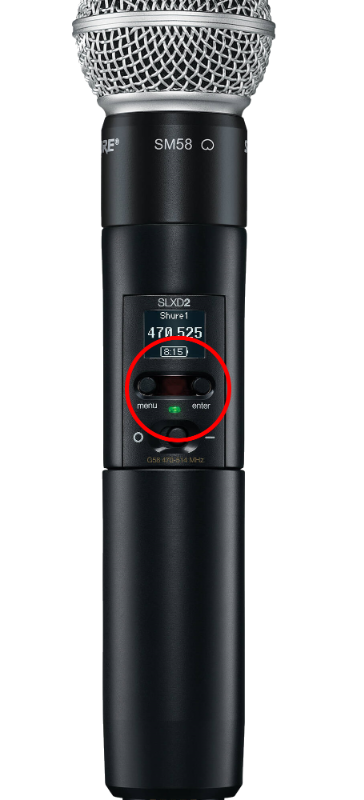
- Hold the corresponding microphone with its infrared window facing the window of the receiver (outlined in a square above). The infrared window has an LED above it that will blink when sync is active.
- The handheld microphone’s infrared window is located here:
- The beltpack microphone’s infrared window is located here:
- Hold the microphone in position until a success message displays on the screen.
Note
There is only one infrared window on each pair of receivers in the rack. Both receivers will use the same window, just be sure to press the correct sync button!

- Speak into each microphone briefly, and verify that the Audio gauge on the matching receiver bounces around with your voice. If it does not, recheck that the correct receiver is selected and try pressing Sync again.
Stage 2c is complete. Proceed to stage 2d.